Table of Contents
Installing Giocoso on macOS
1.0 Introduction
 For several years, the best I could do by way of offering support for running Giocoso on macOS was to say, “It probably works fine, but I can't really say for sure” because all my Apple hardware dated from 2012, 2014 or 2015. My various iMacs and Mac Minis thus all used Intel hardware and were severely restricted in what versions of macOS they could run without adding the complication of using the Open Core Legacy Patcher to the mix.
From the end of January 2026, however, that is no longer true. I still have all those Intel Macs, so I can test Giocoso on those and their assorted old versions of macOS… but I now own an M4 iMac and can therefore attest that Giocoso installs and runs on Apple Silicon just fine and that the latest version of macOS (Tahoe, at the time of writing) works perfectly fine with the latest version of Giocoso (version 3.34 at the time of writing).
For this reason, running Giocoso on Apple's hardware is now Tier 1 support territory: it is, in fact, my new daily driver and I can therefore state with confidence not merely that it ought to work but that it very much does work.
There are a couple of caveats, though: Giocoso does not, because it cannot, work precisely the same on macOS as it does on Linux. In particular, the way that macOS handles audio is quite different from the way Linux does it, to the point that freezing the music playback process certainly halts music playback, but when you resume, the player will attempt to 'catch up' to clock time, with disastrous results. Accordingly, pausing and resuming music playback doesn't work on macOS. Giocoso won't even show you the option to pause/resume if it detects macOS is in use. A completely different approach is needed to implement a pause/resume functionality on macOS which may happen in a future release… but might well not!
That said, the basic principle of getting Giocoso to run on macOS is, essentially, to install a quasi-Linux 'userland' of tools and utilities, thus creating an environment Linux-y enough for Giocoso to cope. There are two possible ways of doing that: by using Homebrew or MacPorts as a quasi-package manager.
Homebrew supports only newer macOS releases (basically, Sonoma, Sequoia and Tahoe). It will work on older releases, but with quirky glitches and errors that have to be worked around. On those older releases, too, Homebrew tends to compile things from scratch, which works eventually but takes ages to complete: one install on Catalina took over 6 hours to finish! I really wouldn't recommend Homebrew installs unless you're running newer macOS versions on decent hardware, therefore.
MacPorts supports older macOS releases very well (and the newer ones, too) and its installs are relatively quick in all cases. I would certainly recommend the MacPorts approach to running Giocoso, therefore.
However, it's not a free choice: if you've ever used Homebrew before, you must not switch to using MacPorts, nor vice versa. It's one or the other, but software mayhem awaits anyone trying to use both.
So, if you've used neither package manager before, I'd recommend MacPorts, especially for older macOS releases. If you've used one or other before, you must continue to use that manager now. Anything older than Monterey is really a problem for Homebrew installations, however, so if you can avoid that, I'd strongly recommend you to do so.
Anyway, if macOS is detected, Giocoso's installer will prompt you to tell it which package manager it should use.
This documentation will thus chart two paths forward: one, the Homebrew approach; the other, the MacPorts one. Pick one and only one! In both cases, however, you end up with a system that is capable of running Giocoso, so the two paths merge thereafter for the purposes of running and using Giocoso. My recommendation remains, however, that the MacPorts approach is simpler and faster (and better tested!)
2.0 Installing Homebrew
Before we can install Homebrew, we need to install all the command line utilities that allow software to be compiled. In a terminal window, type the command:
xcode-select --install
Once that install has completed, type:
/bin/bash -c "$(curl -fsSL https://raw.githubusercontent.com/Homebrew/install/HEAD/install.sh)"
That will download the Homebrew software itself and install it: respond appropriately to any prompts put to you. At the end of the Homebrew installation, you'll see a message that tells you to type three convoluted commands that put Homebrew in your system's path. Mine were:
echo >> /Users/hjr/.zprofile
echo 'eval "$(/usr/local/bin/brew shellenv)"' >> /Users/hjr/.zprofile
eval "$(/usr/local/bin/brew shellenv)"
Obviously, yours won't say “hjr”! Also note that later versions of Homebrew install into /opt/homebrew rather than /usr/local/bin/brew, so on those versions (e.g., Tahoe) make sure you run the commands as Homebrew itself tells you to, because it will get the paths and username correct.
At this point, you will need to install a couple of pieces of critical software that are needed just to obtain the Giocoso installer, let alone to run it. I also suggest that you manually install a few other packages, largely because (a) I've had errors when the Giocoso installer tries to do the same; and (b) a couple of these packages can take literally 5 or 6 hours to compile (though I will note that Homebrew installs on more modern versions of macOS are much quicker than that. I think it better that you see that happening for that length of time, rather than sit staring at an apparently 'stuck' Giocoso installer attempting to do the same things. Get the pain out of the way early, rather than experience it during the Giocoso install, in other words. Type these commands one at a time, in the order shown, bearing in mind that the first one might take nearly six hours to complete on older hardware:
brew install wget bash wezterm fd flac ffmpeg xterm dialog freetype xquartz
brew postinstall openssl
brew postinstall llvm
Those last two commands may or may not be needed: if they are, Homebrew will tell you in its output. Read it carefully and follow its instructions. On Tahoe, for example, neither command was needed: back on Monterey, both were. It depends on how up-to-date your version of macOS is, basically.
2.1 Installing ImageMagick
Installing ImageMagick with Homebrew is a problem, partly because they have changed the way the software is configured over time, so your results will vary depending on what version of the brew 'bottles' you manage to pull down (which will depend on your version of macOS, of course). It's also a pain to do on seriously old versions of macOS: on Catalina, for example, a 'brew install imagemagick' failed with the error “Failed to download resource libzip (1.11.4)”.
So, the path here is a little treacherous. Let's take it step by step: first, try issuing the vanilla command:
brew install imagemagick
…all lower-case and with a 'k' on the end of the program name. If that appears to succeed, type this command:
magick --version
You will see a response similar to this:
Version: ImageMagick 7.1.2-13 Q16-HDRI aarch64 23522 https://imagemagick.org
Copyright: (C) 1999 ImageMagick Studio LLC
License: https://imagemagick.org/license/
Features: Cipher DPC HDRI Modules OpenMP
Delegates (built-in): bzlib cairo fontconfig freetype gslib heic jng jp2 jpeg jxl lcms lqr ltdl lzma openexr png ps raw rsvg tiff uhdr webp xml zip zlib zstd
Compiler: clang (17.0.0)
So, first the response means ImageMagick is installed and functional. But a crucial feature needs to be visible on that “Delegates (built-in):” line. If it doesn't mention fontconfig and freetype then you've installed (through no fault of your own) a version of ImageMagick that can handle artwork but cannot handle text. Which is an absolute disaster for Giocoso!
So, if your output does mention freetype and fontconfig, you have installed ImageMagick correctly and can proceed to the next step.
If you output fails to mention them, however, you now need to issue these two commands:
brew uninstall imagemagick
brew install imagemagick-full
ImageMagick-full is a differently-compiled version of ImageMagick that definitely does include linkages to fontconfig and freetype. So, when that installation has completed, you should be able to do a magick –version and see those two packages mentioned in the Delegates line of output at last.
There's just one slight problem: Homebrew installs the imagemagick-full package into a completely non-standard folder that won't be searched by your system by default. So, once you've confirmed that font-aware ImageMagick is installed correctly, type this command:
sudo nano /etc/paths
At the top of whatever is already present in that file, add the line:
/opt/homebrew/opt/imagemagick-full/bin
Then quit your terminal: I mean, really quit it, not just close it down: right-click the launcher and select 'Quit' from the context menu). Or open a new terminal and select Terminal → Quit Terminal from the top menu.
So, that's two scenarios: (1) installing plain imagemagick works and gives you font support; (2) installing vanilla imagemagick works but fails to give you font support, so uninstalling it and installing imagemagick-full, plus adjusting the /etc/paths file.
The third scenario is that (1) failed with nasty-looking error messages. If that happens, do this in a new terminal session:
- cd
- cd Downloads
- tar -xzf ImageMagick-x86_64-apple-darwin20.1.0.tar.gz
- sudo mv ImageMagick-7.0.10 /usr/local/ImageMagick
Next:
- sudo nano /etc/paths
- At the top of the file, add a new line reading: /usr/local/ImageMagick/bin
- sudo cp -R /usr/local/ImageMagick/lib/* /usr/local/lib
- sudo cp -R /usr/local/ImageMagick/bin/* /usr/local/bin
Verify this old binary version works as intended with:
magick -version
…and, again, make sure you see some sort of response that mentions fontconfig and freetype.
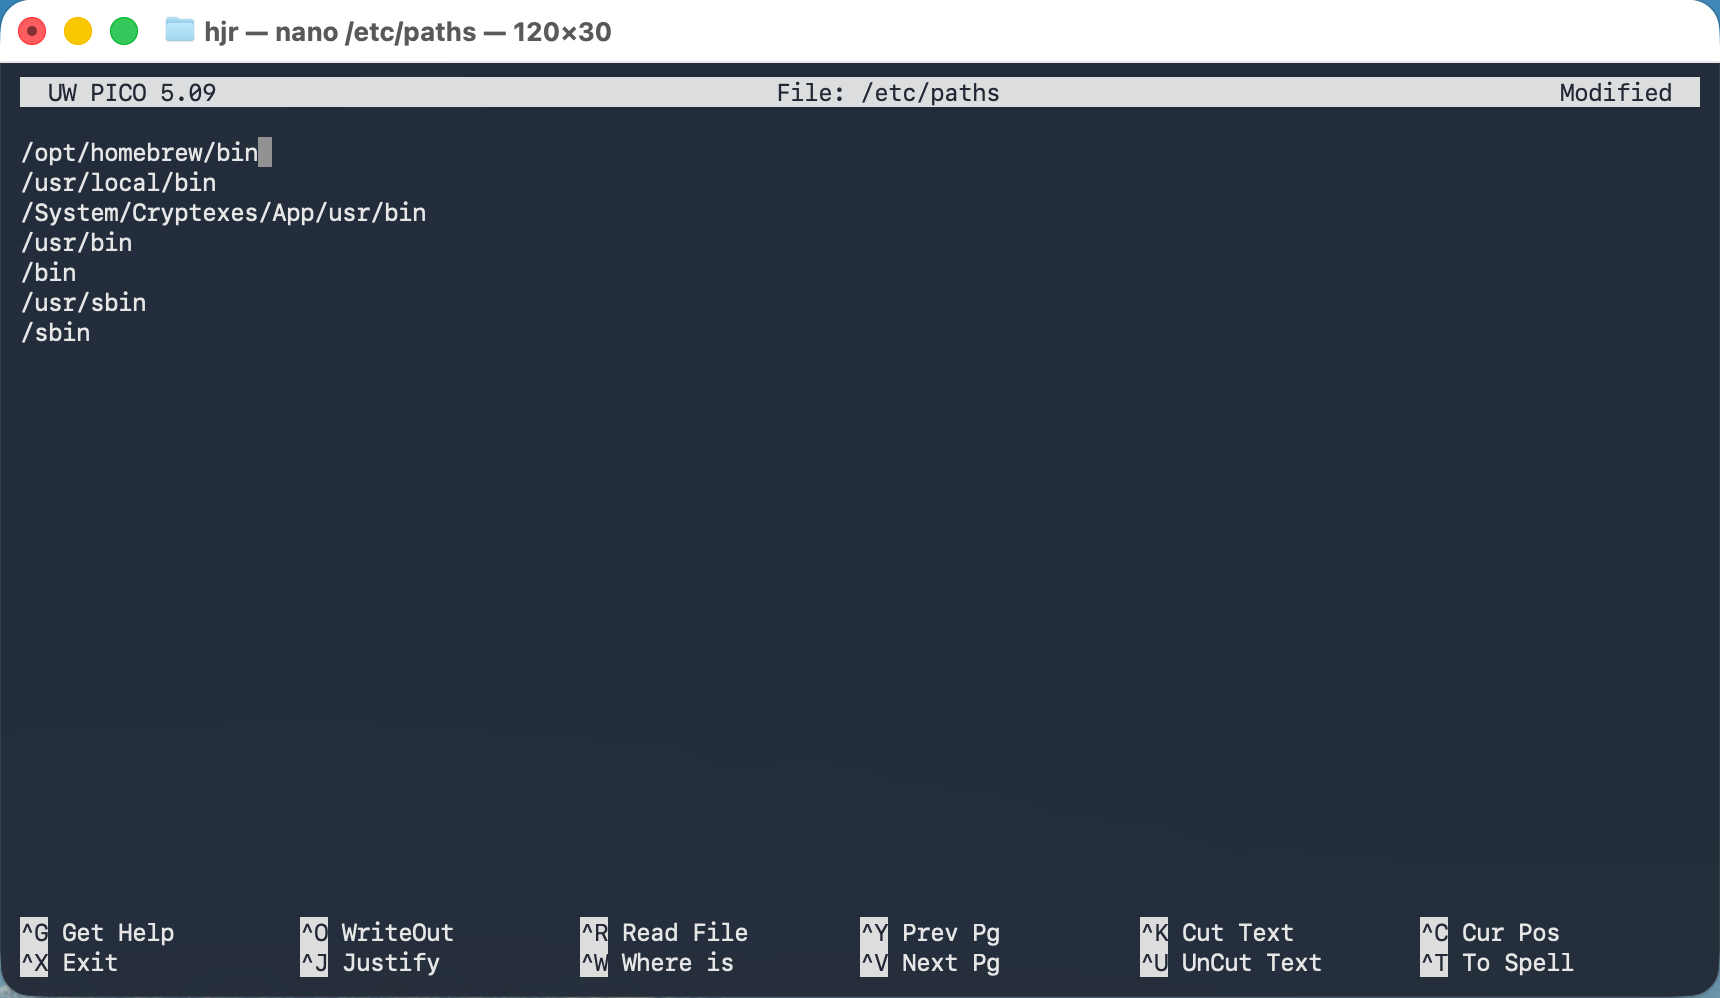
Now, just to add icing on the cake: Giocoso will actually try to install both the imagemagick and the imagemagick-full packages onto your system. That might mean you end up with both present on the one system -and then the problem becomes which one will Giocoso try to use by default. That depends on the content of your /etc/paths file. If you list /opt/homebrew/bin (or the 'standard' Homebrew binaries folder) above the weirder /opt/homebrew/opt/imagemagick-full/bin folder, then it'll be the imagemagick binary that gets found first when Giocoso asks to use it. If you list the 'weird' folder above the 'standard' one, Giocoso will find and use the -full version first.
So, here's a worked example (using Homebrew on Tahoe, a bang up-to-date scenario): I've got both imagemagick and imagemagick-full installed, thanks to Giocoso. Here's my paths file:
hjr@Howards-iMac ~ % cat /etc/paths
/opt/homebrew/bin
/opt/homebrew/opt/imagemagick-full/bin
/usr/local/bin
/System/Cryptexes/App/usr/bin
/usr/bin
/bin
/usr/sbin
/sbin
So which version will get used first? In this case, it'll be the “imagemagick” one:
hjr@Howards-iMac ~ % magick --version
Version: ImageMagick 7.1.2-13 Q16-HDRI aarch64 23522 https://imagemagick.org
Copyright: (C) 1999 ImageMagick Studio LLC
License: https://imagemagick.org/license/
Features: Cipher DPC HDRI Modules
Delegates (built-in): bzlib heic jng jpeg lcms ltdl lzma png tiff webp xml zlib zstd
Notice that the Delegates line doesn't mention fontconig: Giocoso will break in this environment, rather horribly, with warnings about not being able to read assorted fonts. So let me edit my /etc/paths to this:
/opt/homebrew/opt/imagemagick-full/bin
/opt/homebrew/bin
/usr/local/bin
/System/Cryptexes/App/usr/bin
/usr/bin
/bin
/usr/sbin
/sbin
Quit Terminal and re-launch and I'd hope that you would now expect the -full version of imagemagick to be found and used, right? Wrong!
hjr@Howards-iMac ~ % magick --version
Version: ImageMagick 7.1.2-13 Q16-HDRI aarch64 23522 https://imagemagick.org
Copyright: (C) 1999 ImageMagick Studio LLC
License: https://imagemagick.org/license/
Features: Cipher DPC HDRI Modules
Delegates (built-in): bzlib heic jng jpeg lcms ltdl lzma png tiff webp xml zlib zstd
Still the font-less version! The reason this happens is because Homebrew is too damned clever for its own good! It modifies another file which trumps the contents of the /etc/paths file: $HOME/.zprofile:
 hjr@Howards-iMac ~ % cat .zprofile
 eval "$(/opt/homebrew/bin/brew shellenv zsh)"
That “eval” line has the effect of bumping the ordinary Homebrew binaries to the front of the path, whatever /etc/paths may say. We therefore need to modify that file by adding the line:
export PATH="/opt/homebrew/opt/imagemagick-full/bin:$PATH"
…to the end of the file. That manually forces the -full version to the front of the path once more. Save the edited .zprofile, then quit terminal once more and launch a new one:
hjr@Howards-iMac ~ % magick --version
Version: ImageMagick 7.1.2-13 Q16-HDRI aarch64 23522 https://imagemagick.org
Copyright: (C) 1999 ImageMagick Studio LLC
License: https://imagemagick.org/license/
Features: Cipher DPC HDRI Modules OpenMP
Delegates (built-in): bzlib cairo fontconfig freetype gslib heic jng jp2 jpeg jxl...
Bingo! We have fontconfig support at last.
I wish I could simplify this for you, but it is tricky and it all depends on the age of your operating system and the specific version of Homebrew you're using. If you are very lucky, a vanilla imagemagick install will have font support and will be at the front of the path by default: the simultaneous existence of an imagemagick-full install won't matter, because it's in a location that no-one will search for and Giocoso doesn't need.
On more recent Homebrew and macOS versions, however, both versions will be present and the vanilla imagemagick will not have font support, which will break Giocoso. You therefore need to manipulate system paths to make the -full version searchable and discoverable and thus the one that Giocoso will use.
This is definitely the sort of low-level shenanigans that Unix and Linux administrators eat for breakfast. It's unlikely to be appealing to a lot of Mac users, but there it is!
2.2 Add Homebrew Binaries to Path
Assuming you finally get the correct response from ImageMagic, you need to make sure that the /etc/paths file knows how to find all the Homebrew binaries the Giocoso installation will pull in as dependencies. You do that with the command sudo nano /etc/paths and your job is to put the path to the Homebrew bin folder at the top of the list if it's not already there. This is again a version-dependent thing. On the latest macOS Tahoe, for example, Homebrew puts all the executables it installs into /opt/homebrew/bin and that's not in the paths listed in this file. On Monterey, though, Homebrew used to install into /usr/local/bin …and that is already present in /etc/paths (probably!).
So, first determine where your Homebrew bin is: for example, type:
which bash
…and you should see a path returned to you. On Tahoe, I see a response of:
/opt/homebrew/bin/bash
…which tells me that “/opt/homebrew/bin” is definitely the right location. Failing that, cd to /usr/local/bin and see if you can ls any of the executables you've been installing.
Once you've worked out the correct path, add that path to the top of the list of paths in /etc/paths, unless it's already present:
Here, /usr/local/bin was already present and I'm just adding the Tahoe-esque version above it. The order in which lines appear is important: you want Homebrew's bin folder to be first in the list, otherwise when Giocoso says “use Bash as my shell”, it will discover the built-in Apple version which is from the early 2010s and is grossly out of date. Giocoso will break horribly when that happens. Listing Homebrew's folder first makes sure the Bash version 5.x+ is picked up instead… and then things will work!
Once those installations are complete, you'll be free to download the Giocoso installer and run it… for the which, see Section 4 below! For now, close the terminal you were using to install these packages and open a brand new one to do the Giocoso install: that way, new paths and installations are fully picked up by the new terminal session.
3.0 Installing MacPorts
Before we can install MacPorts itself, we need to install the various command line utilities that MacPorts will expect to find on the system: these are programs that, for example, compile source code into executable binary packages. Fortunately, this is quite easy to do.
Simply open a terminal and type the command:
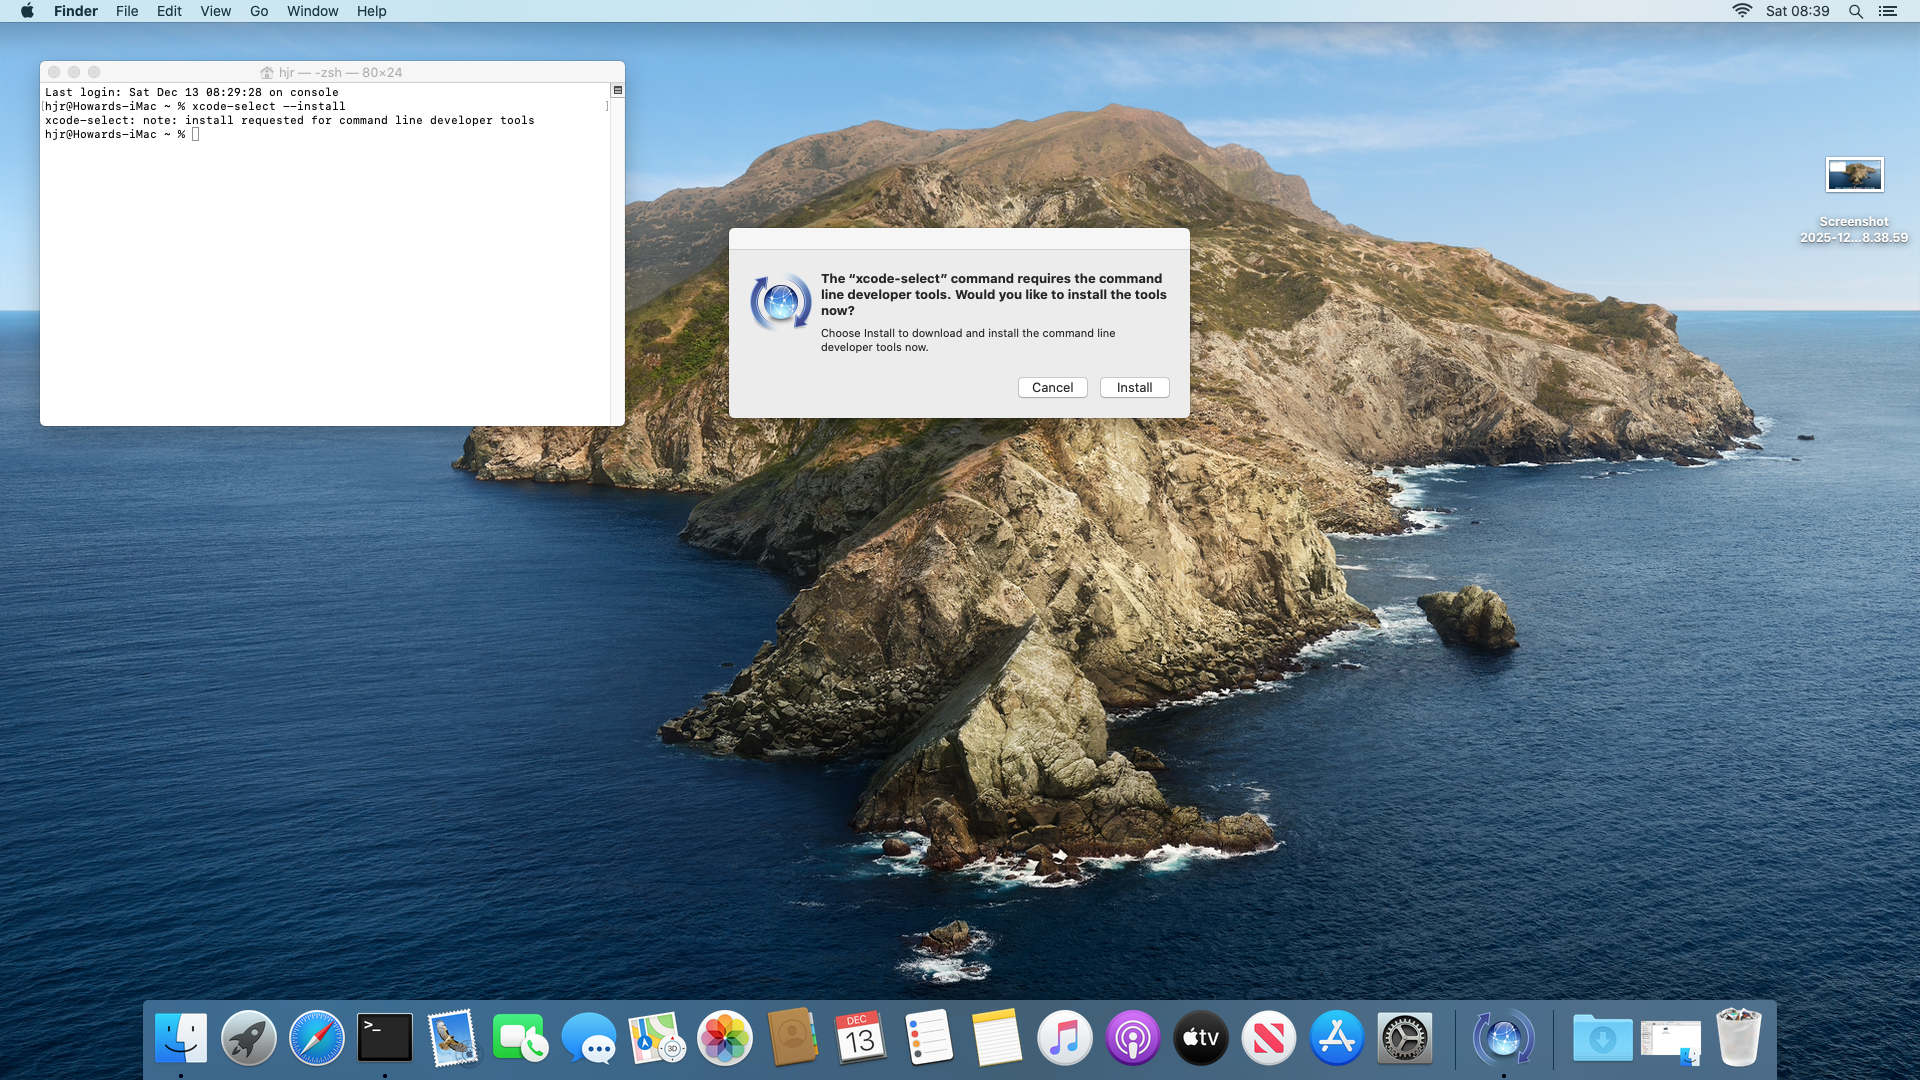
xcode-select --install
A graphical dialog will ask you if you really want to install the command line tools:
Click [Install] and agree to the ludicrously long licence agreement that appears. A lengthy download of the relevant software then takes place, ending with this:
Once those tools are installed, you need to obtain an appropriate version of MacPorts: different releases of macOS need different instances of the MacPorts software. At the time of writing (December 2025), these were the latest os-dependent releases available:
https://github.com/macports/macports-base/releases/download/v2.11.6/MacPorts-2.11.6-26-Tahoe.pkg
https://github.com/macports/macports-base/releases/download/v2.11.6/MacPorts-2.11.6-15-Sequoia.pkg
https://github.com/macports/macports-base/releases/download/v2.11.6/MacPorts-2.11.6-14-Sonoma.pkg
https://github.com/macports/macports-base/releases/download/v2.11.6/MacPorts-2.11.6-13-Ventura.pkg
https://github.com/macports/macports-base/releases/download/v2.11.6/MacPorts-2.11.6-12-Monterey.pkg
https://github.com/macports/macports-base/releases/download/v2.11.6/MacPorts-2.11.6-11-BigSur.pkg
https://github.com/macports/macports-base/releases/download/v2.11.6/MacPorts-2.11.6-10.15-Catalina.pkg
https://github.com/macports/macports-base/releases/download/v2.11.6/MacPorts-2.11.6-10.14-Mojave.pkg
https://github.com/macports/macports-base/releases/download/v2.11.6/MacPorts-2.11.6-10.13-HighSierra.pkg
https://github.com/macports/macports-base/releases/download/v2.11.6/MacPorts-2.11.6-10.12-Sierra.pkg
Check the Macports website for the actual versions current at the time you want to install. There are versions available for macOS releases earlier than Sierra, but installing Giocoso on such ancient operating systems is definitely not supported at all, so be my guest but you're on your own for them!
Once you've downloaded the correct package for your operating system, visit your Downloads folder in Finder and double-click the pkg file to launch the installation wizard:
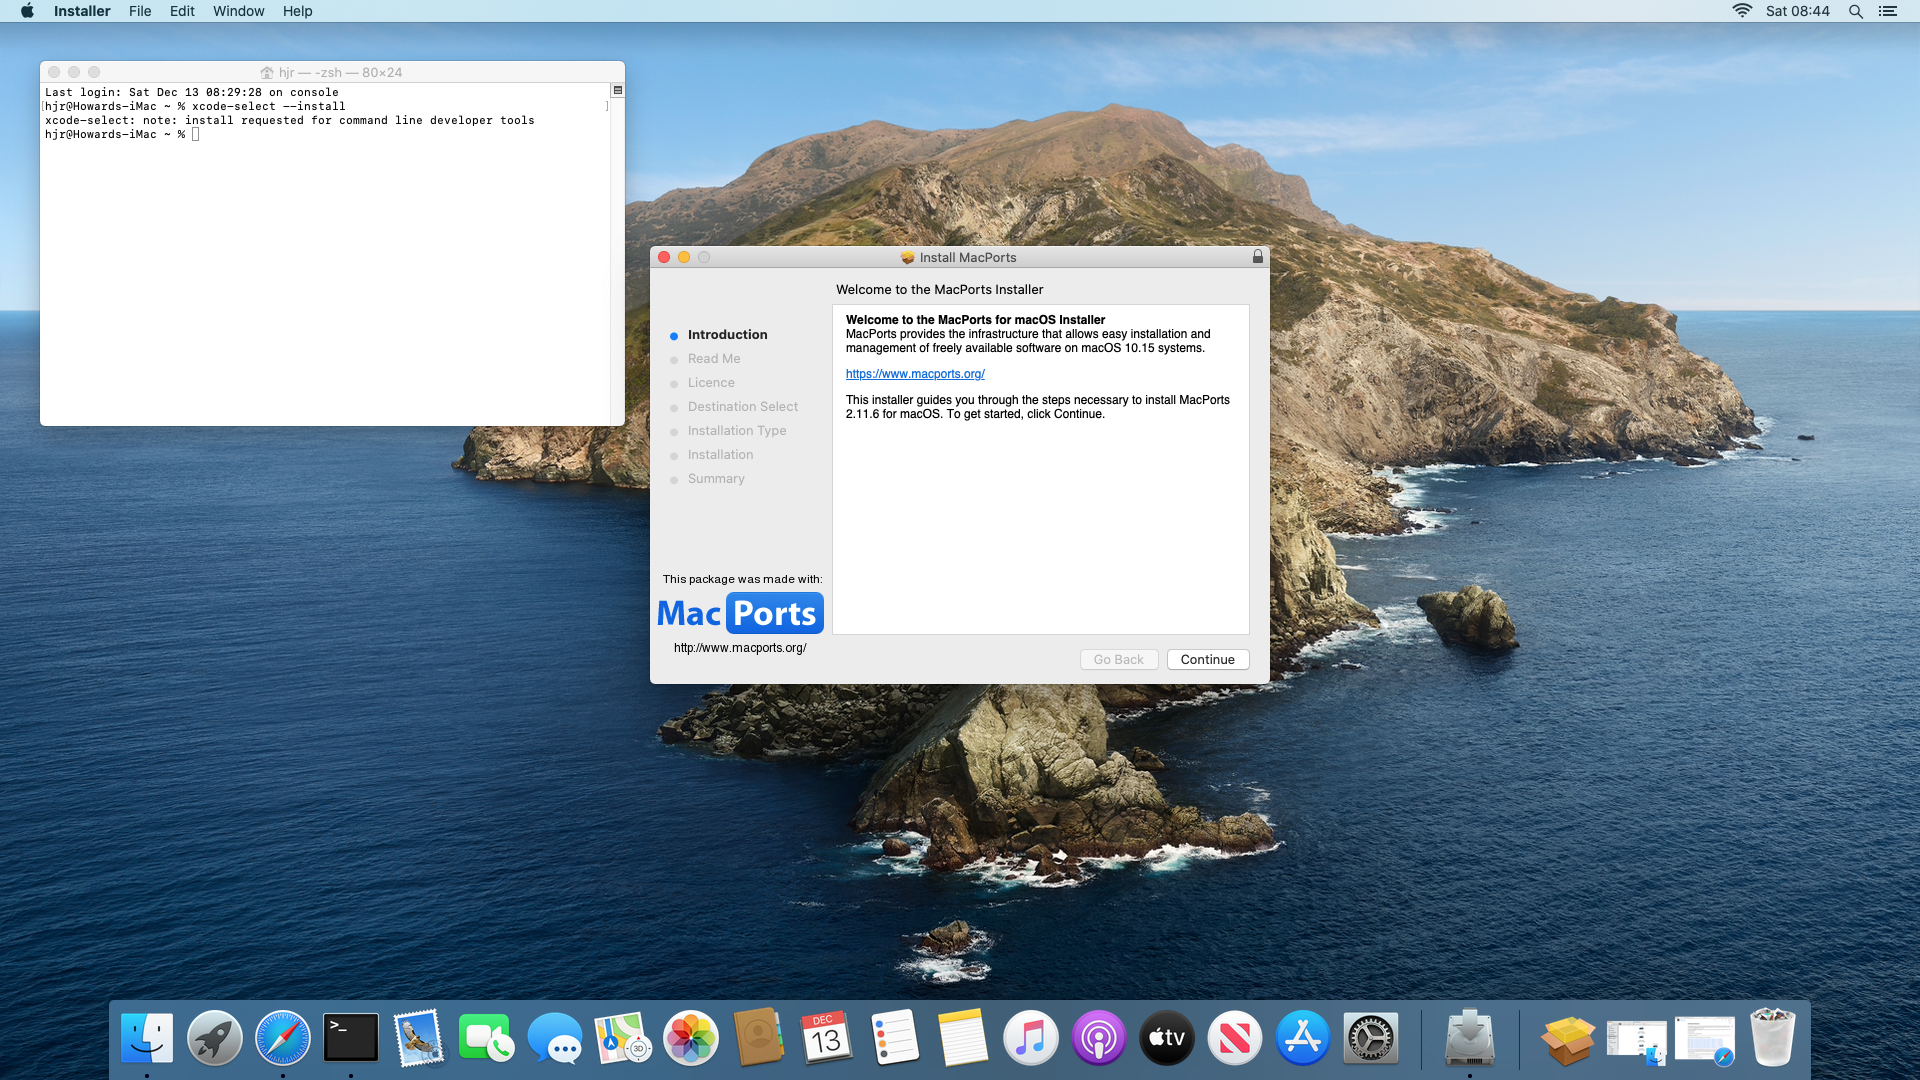
Click your way through the wizard, agreeing to the inevitable licence, and choosing an appropriate hard drive to install onto:

You'll be prompted for your administrator password and then the software installation will begin. Once it's complete, you'll be asked whether to move the downloaded MacPorts package to the bin or keep it: either answer is fine, but you won't need to install MacPorts again, so you might as well bin the package!
Next you will need to add the MacPorts path to your system's PATH variable: you do that by typing the command:
sudo nano /etc/paths
At the very top of the file, before all other listed folder names, add the line:
/opt/local/bin
…and then save the modified file. It is important this new path appears first in the file, because that determines the order in which macOS searches for executables -and we want the MacPorts executables to be found before macOS's built-in ones. Only in this way can we be sure, for example, that the MacPorts version of Bash is used in preference to macOS's ancient version of Bash (which won't be able to run Giocoso properly).
You make this change of path variables take effect by closing your existing terminal window and opening a new one.
Once that's all done, you need to install a couple of software packages before you can attempt to install Giocoso. Just type the command:
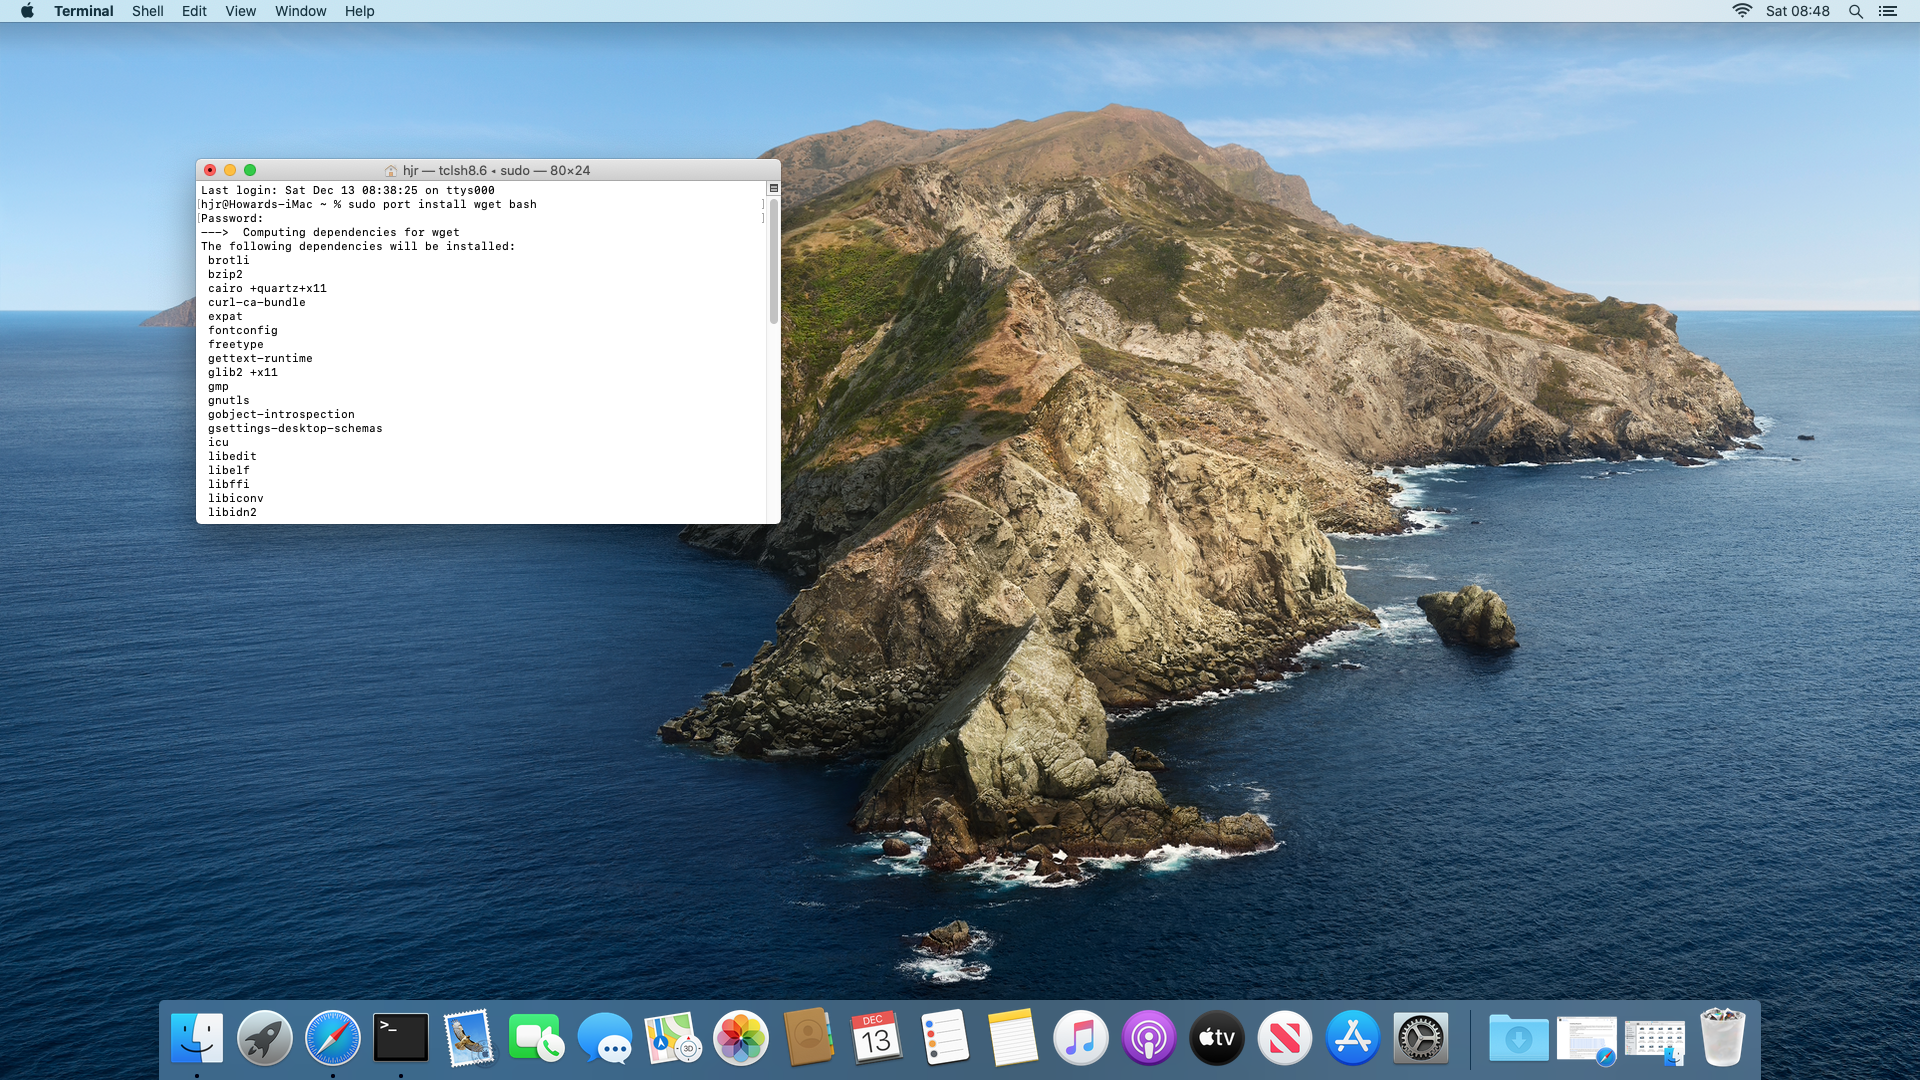
sudo port install wget bash
You'll see MacPorts proposing to install a bunch of related software besides those two packages:
When prompted, say 'y' to continue. The software installation will be relatively swift, and will end with a wall of text that you can safely ignore:
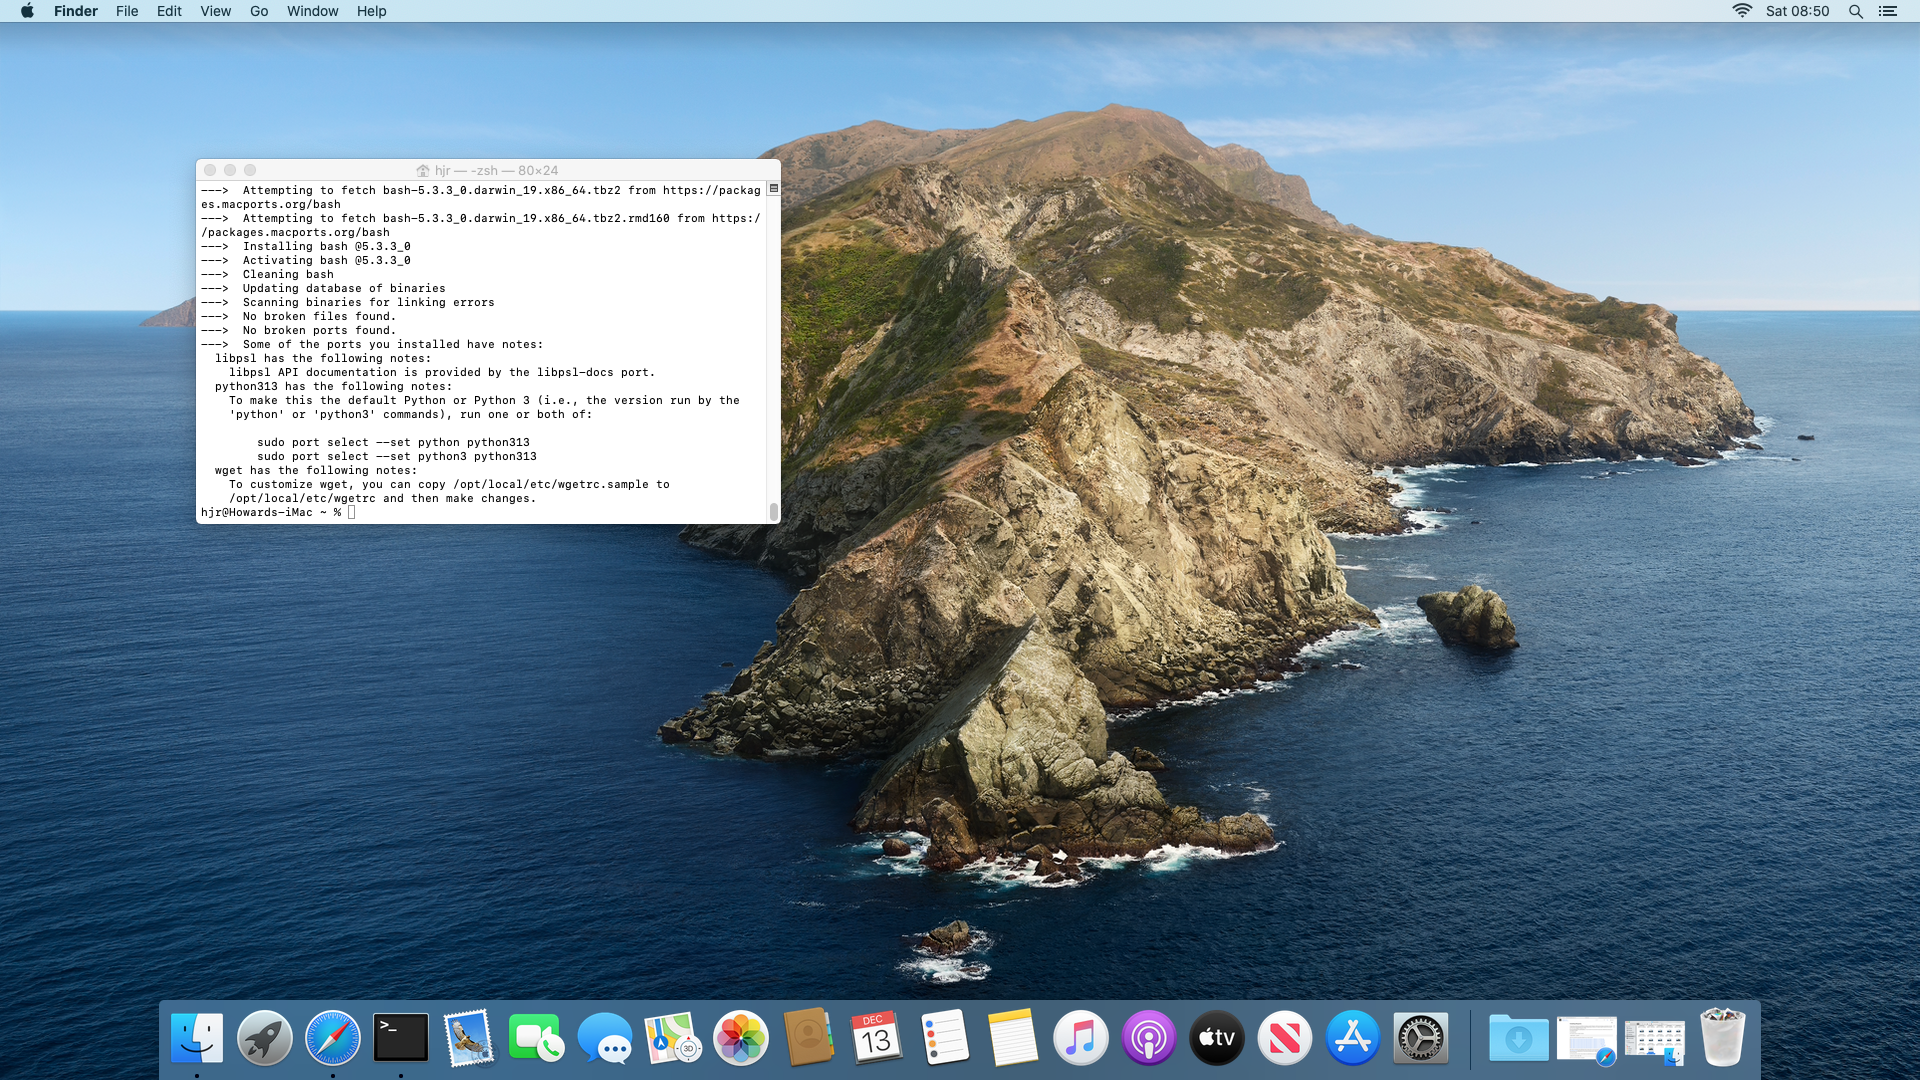
Once you see that, your system is ready to install Giocoso. Be sure to close your terminal again at this point and open a new one: if you don't, you'll be trying to launch the Giocoso installer in a terminal that only knows about the existence of the ancient, built-in version of Bash, which won't work. Only a freshly-opened terminal will notice that you've just installed a Version 5+ copy of Bash and make use of it.
4.0 Installing Giocoso
Now you're ready to install Giocoso, you first need to obtain the installation script itself. That's easily done in a terminal, with the command:
wget software.bbritten.com/gioinst
To launch the downloaded script, you then just type the command:
bash gioinst
That should immediately trigger the following display:
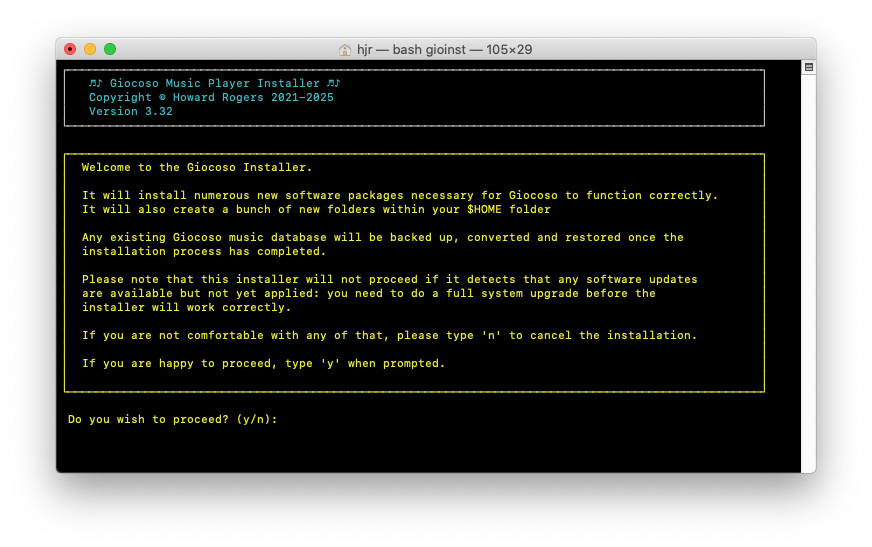
This text just warns you that an assortment of software is about to be installed on your system and some configuration changes will be made. You can back out at this point, by tapping 'n', and nothing at all will have changed on your PC… but if you tap 'y', the installer will proceed. You'll first be asked to supply the sudo password, so that the installer script can obtain the root privileges it needs to do its work. Once you supply that, you'll see this bit of text:
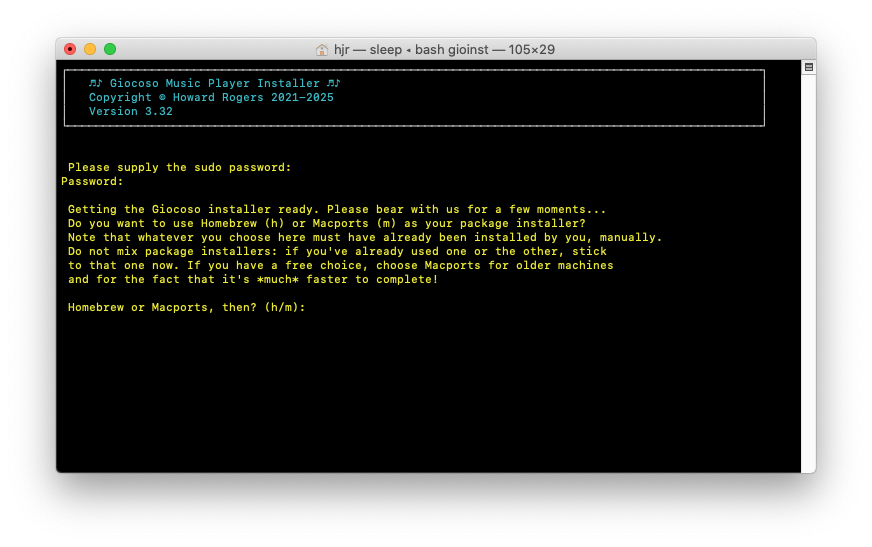
This is quite a crucial prompt to get right. Giocoso can use either Homebrew or MacPorts to install the software it depends on …but it's vital that it shouldn't use the package manager that's inappropriate for your system. If you've installed Homebrew, Giocoso mustn't try to use MacPorts and, of course, the opposite also applies. Your job is therefore to tap 'h' or 'm' to tell the installer which package manager to use during the installation process. Make sure you pick the right one, or mayhem will ensue!
As soon as you've selected the correct package manager, the screen will change to this sort of thing:
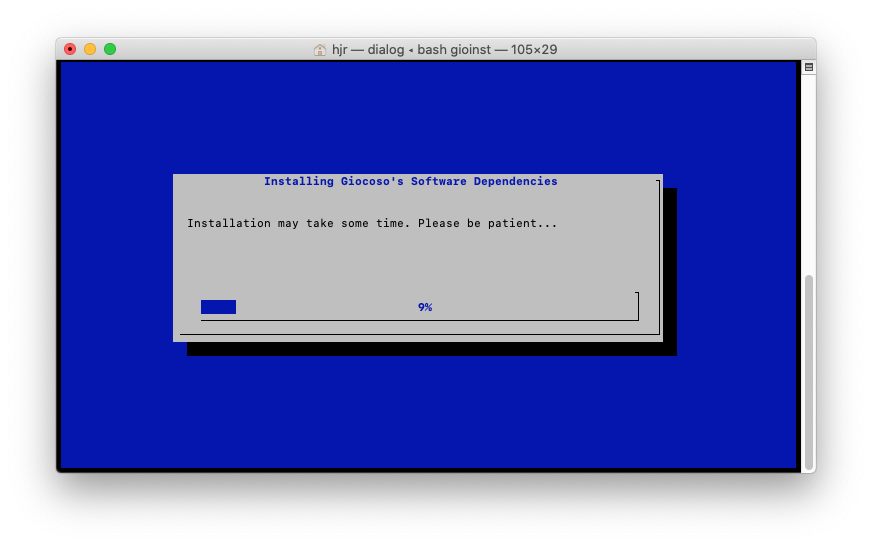
This part of proceedings can take quite a while (potentially a very long time if you're using the Homebrew package manager): be patient and let it do its thing! Eventually, the screen will change to this:
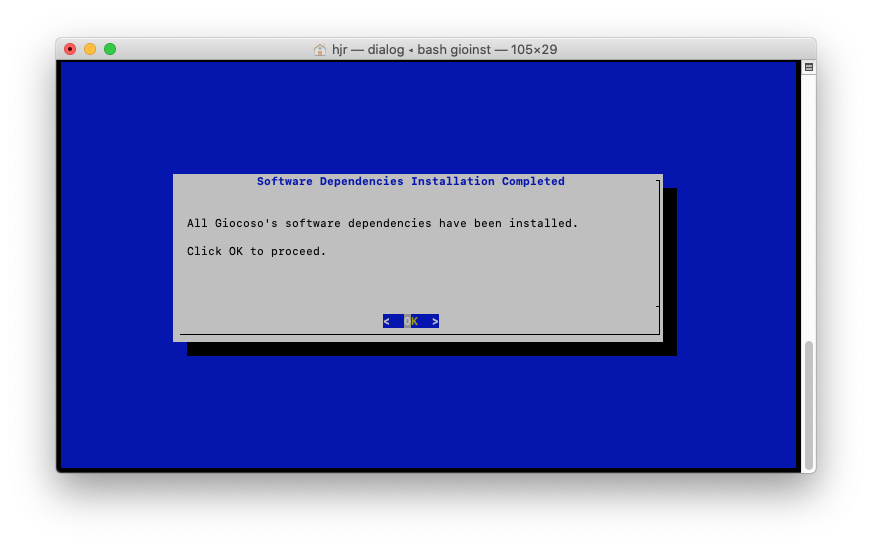
With the software prerequisites dealt with, the installer will now download Giocoso itself: just click OK (or press [Enter]) to move on to that next step:
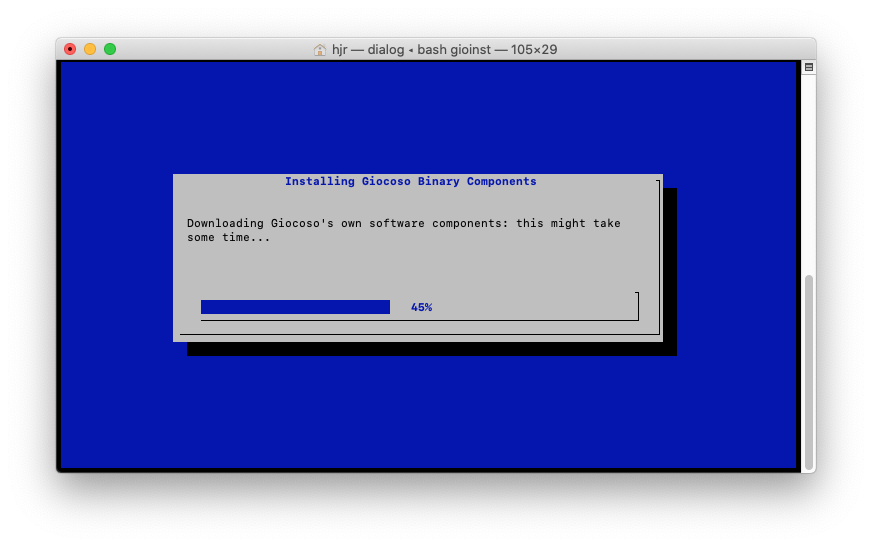
This part of the process will speed by pretty quickly: Giocoso's bits and pieces are measured in kilobytes, not gigabytes! When they've all been downloaded, you'll be prompted once more to begin a verification process, where the installer computes a hash sum for the things it has downloaded and compares those hash values to ones this website thinks ought to be true:
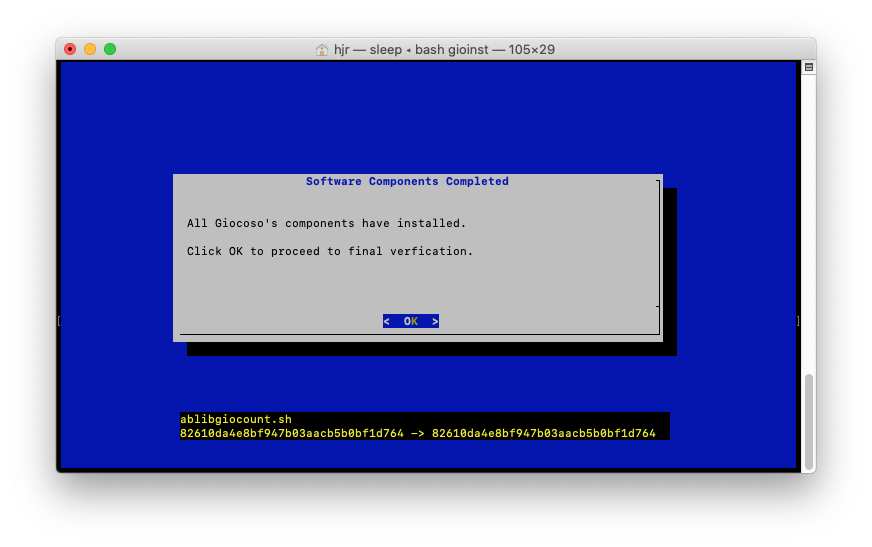
If any mismatches are detected, the installer will try to download the various components again, hopefully with a better result. One way or another, however, you'll end up seeing this:
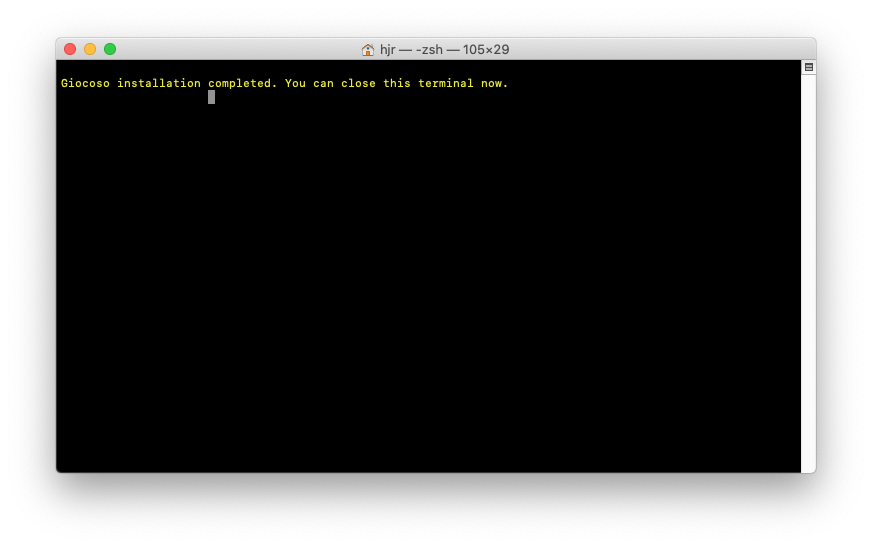
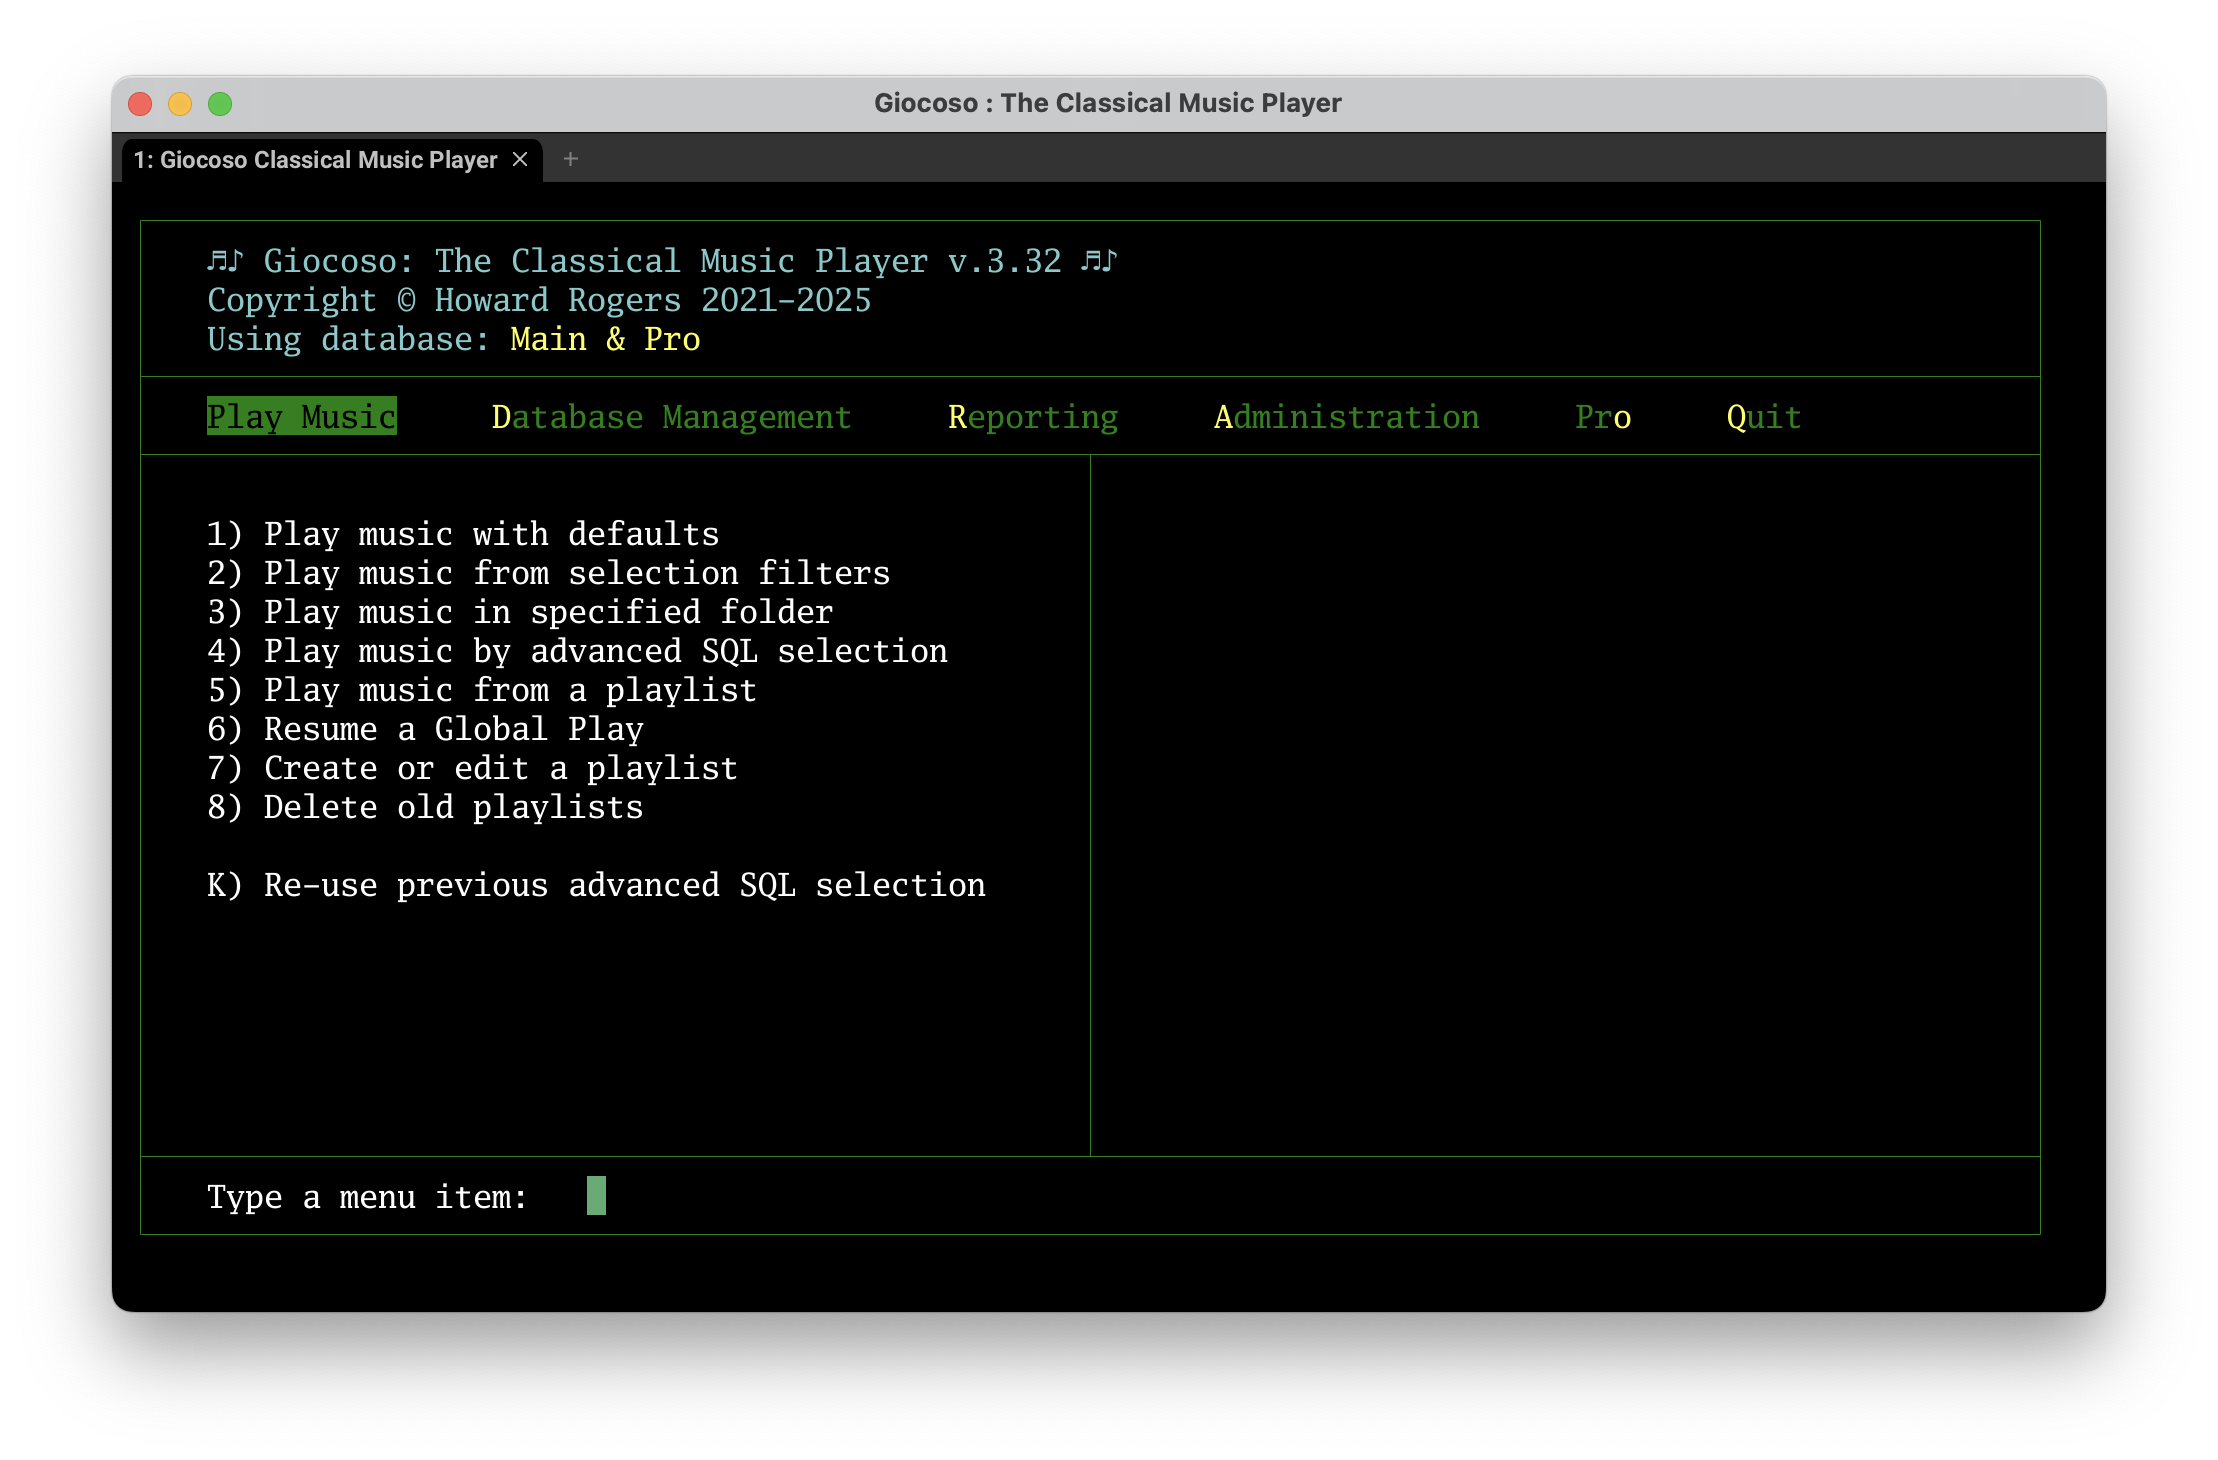
And that's it! Giocoso is now successfully installed and can be immediately launched by typing the command giocoso into a terminal, though the results might not be ideal:
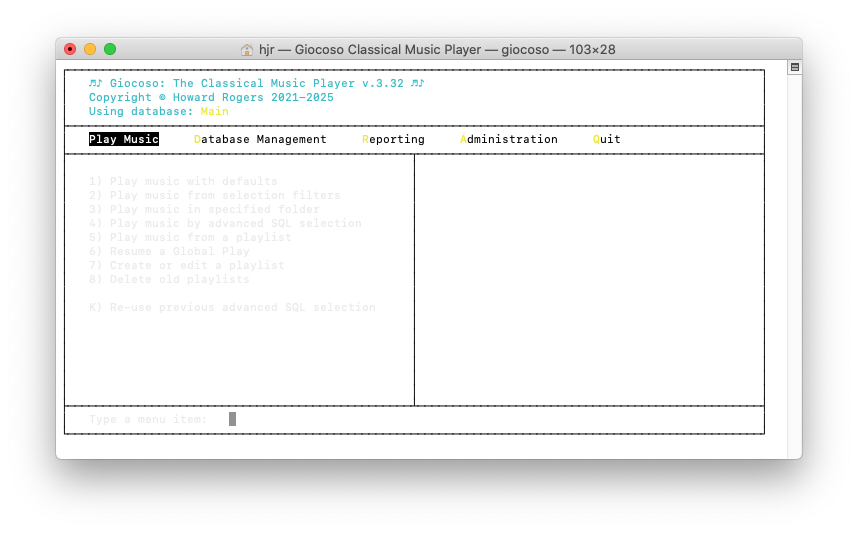
You will note that, running in the standard macOS terminal, the colour scheme used by Giocoso doesn't really work very well, with grey text that's practically impossible to read! We'll sort this out shortly, but for now the point is that Giocoso is installed and works!
5.0 WezTerm to the Rescue!
Appearing in all the wrong colours is not the default terminal's only failing: you'll soon find out that it is not able to display album artwork inside itself, either. Technically, Giocoso displays artwork using the “sixel graphics” protocol… and that protocol has to be support (i.e., 'compiled in') to any terminal application for it to work. The default macOS terminal doesn't do that, so in-terminal graphics are a no-no.
If you are using MacPorts, therefore, I recommend you run the following command:
sudo port install wezterm
…which will install the WezTerm terminal emulator, which does know how to render sixel graphics. It should appear in the Launchpad display as a black square with a blue “$W” in it. There's no need to do this now if you're using Homebrew, because I included the command to install that way back in Section 2 anyway.
WezTerm will tend to want open by default using a small window with small fonts: I suggest you would want to change that up a bit. The way you do that is to issue these commands:
cd
nano .wezterm.lua
Paste into the new file the following:
local wezterm = require 'wezterm'
local config = wezterm.config_builder()
config.initial_cols = 103
config.initial_rows = 28

config.colors = {
    -- The default text color (green is dark green, lime is bright green)
    foreground = 'lime',
    -- The default background color
    background = 'black',
}

config.font = wezterm.font("Courier New", {weight="Regular", stretch="Normal", style="Normal"})
config.font_size = 16

wezterm.on('format-window-title', function(window, pane, tabs, panes, config)
    return "Giocoso : The Classical Music Player"
end)

return config
Save the modified file. Hopefully, most of this is self-explanatory: it tells WezTerm to open at an initial 103 columns by 28 rows; to use the built-in Courier font (more on this below) at 16pt size, and to auto-launch Giocoso when it itself launches. With these parameters configured, launch WezTerm by clicking its icon in the Launchpad:
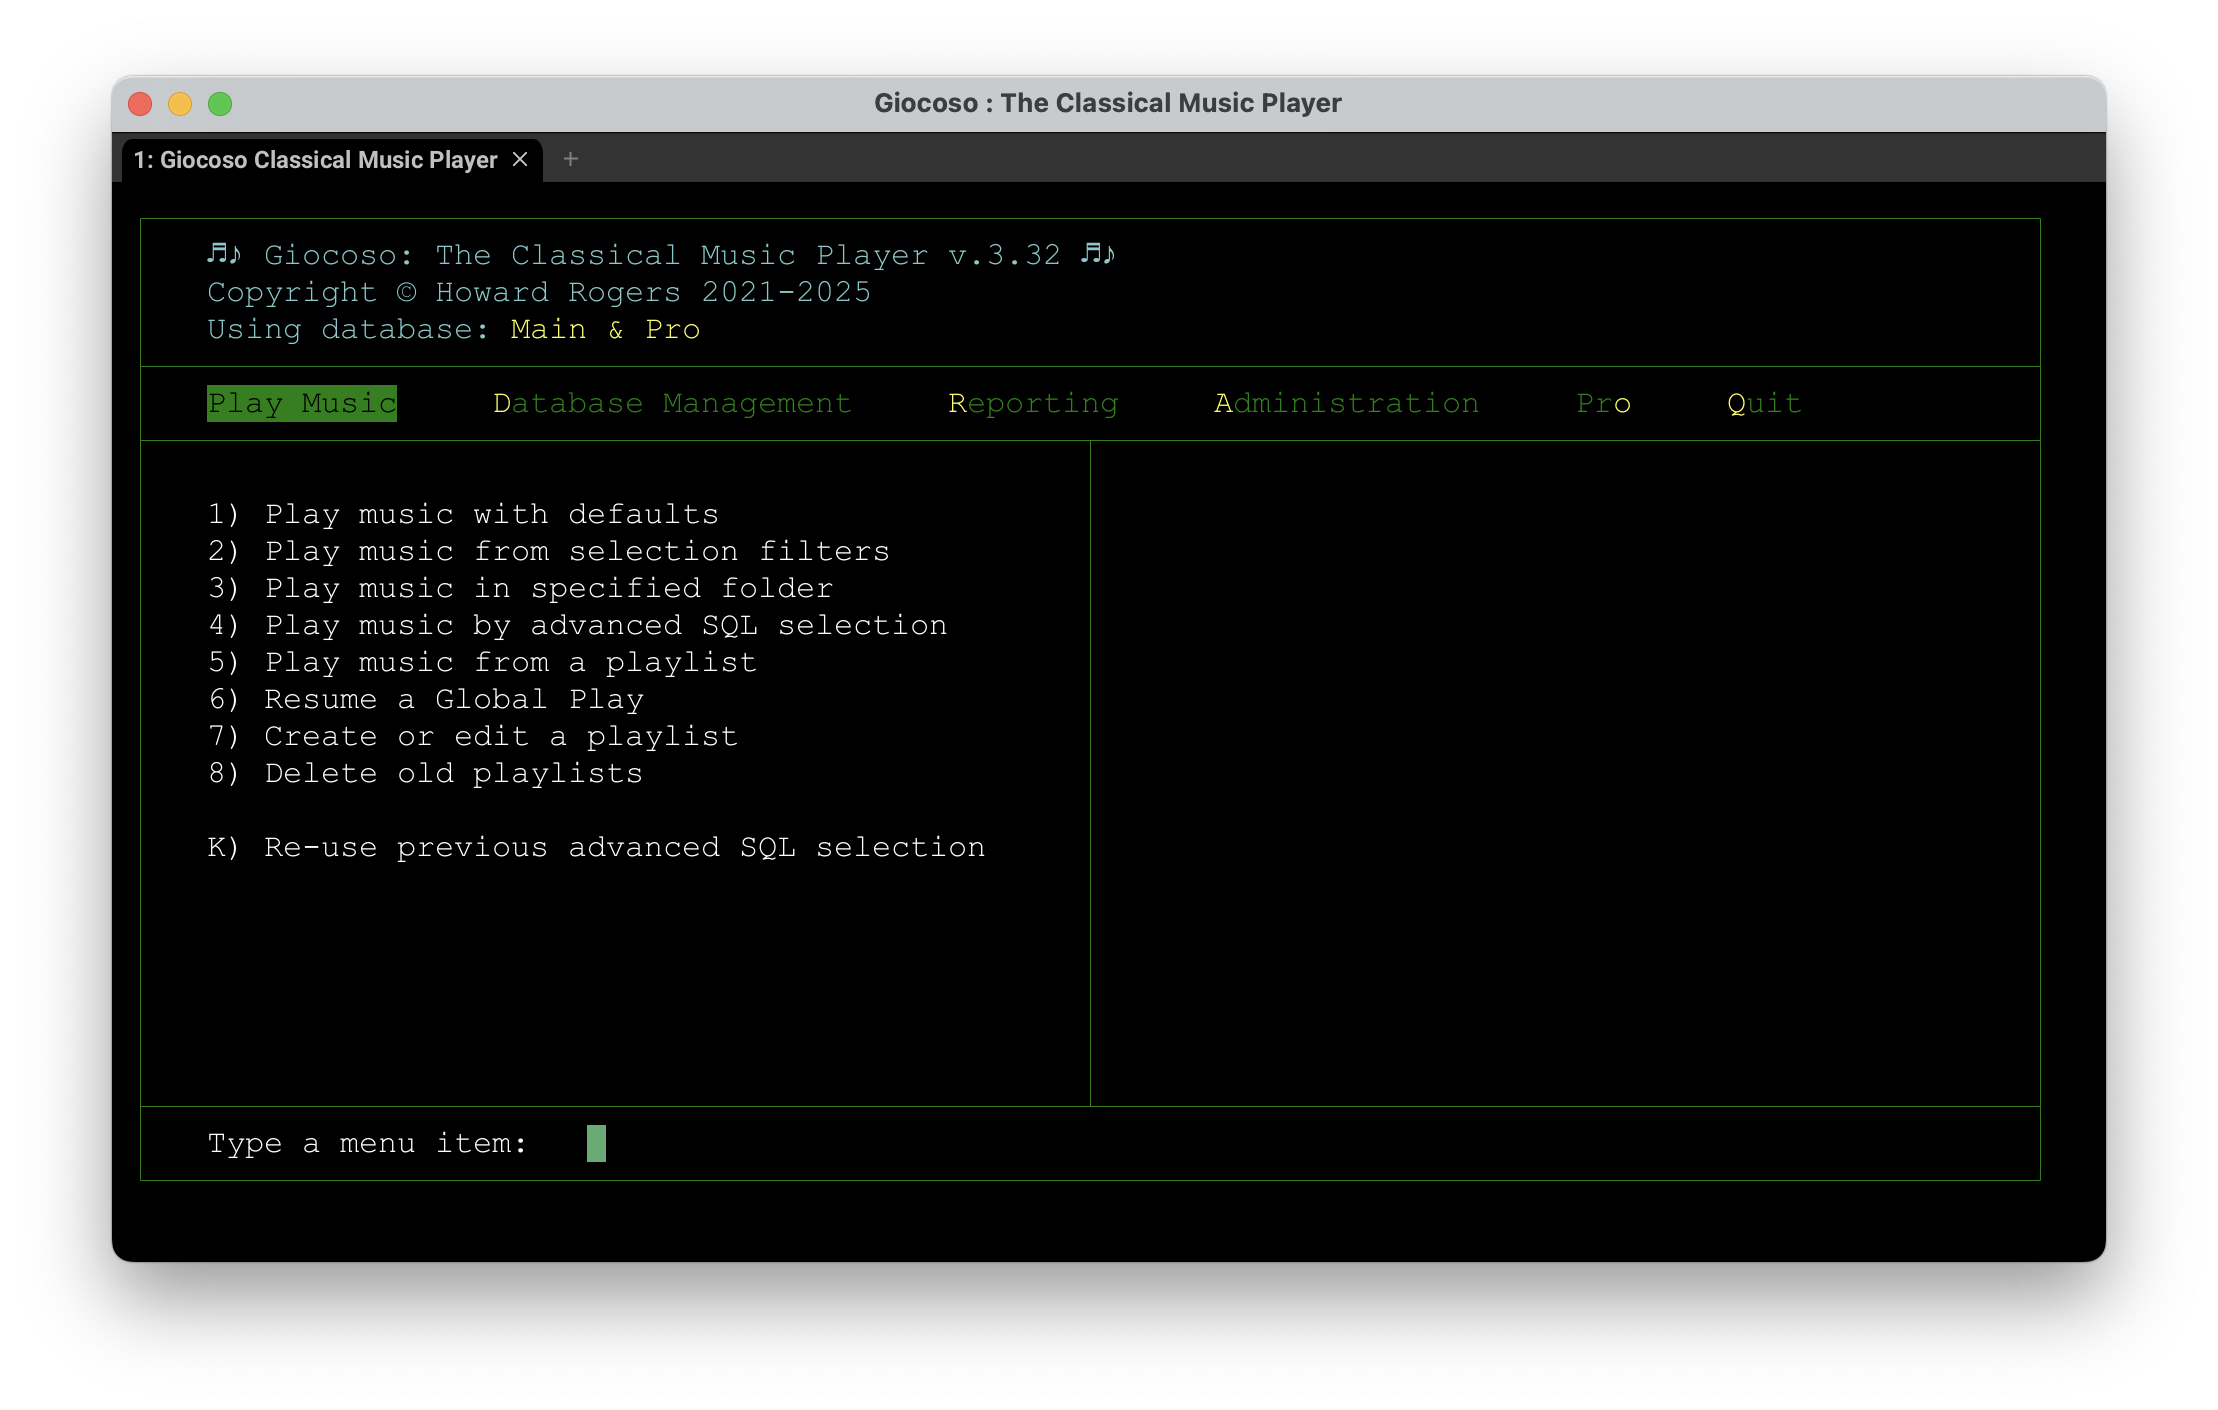
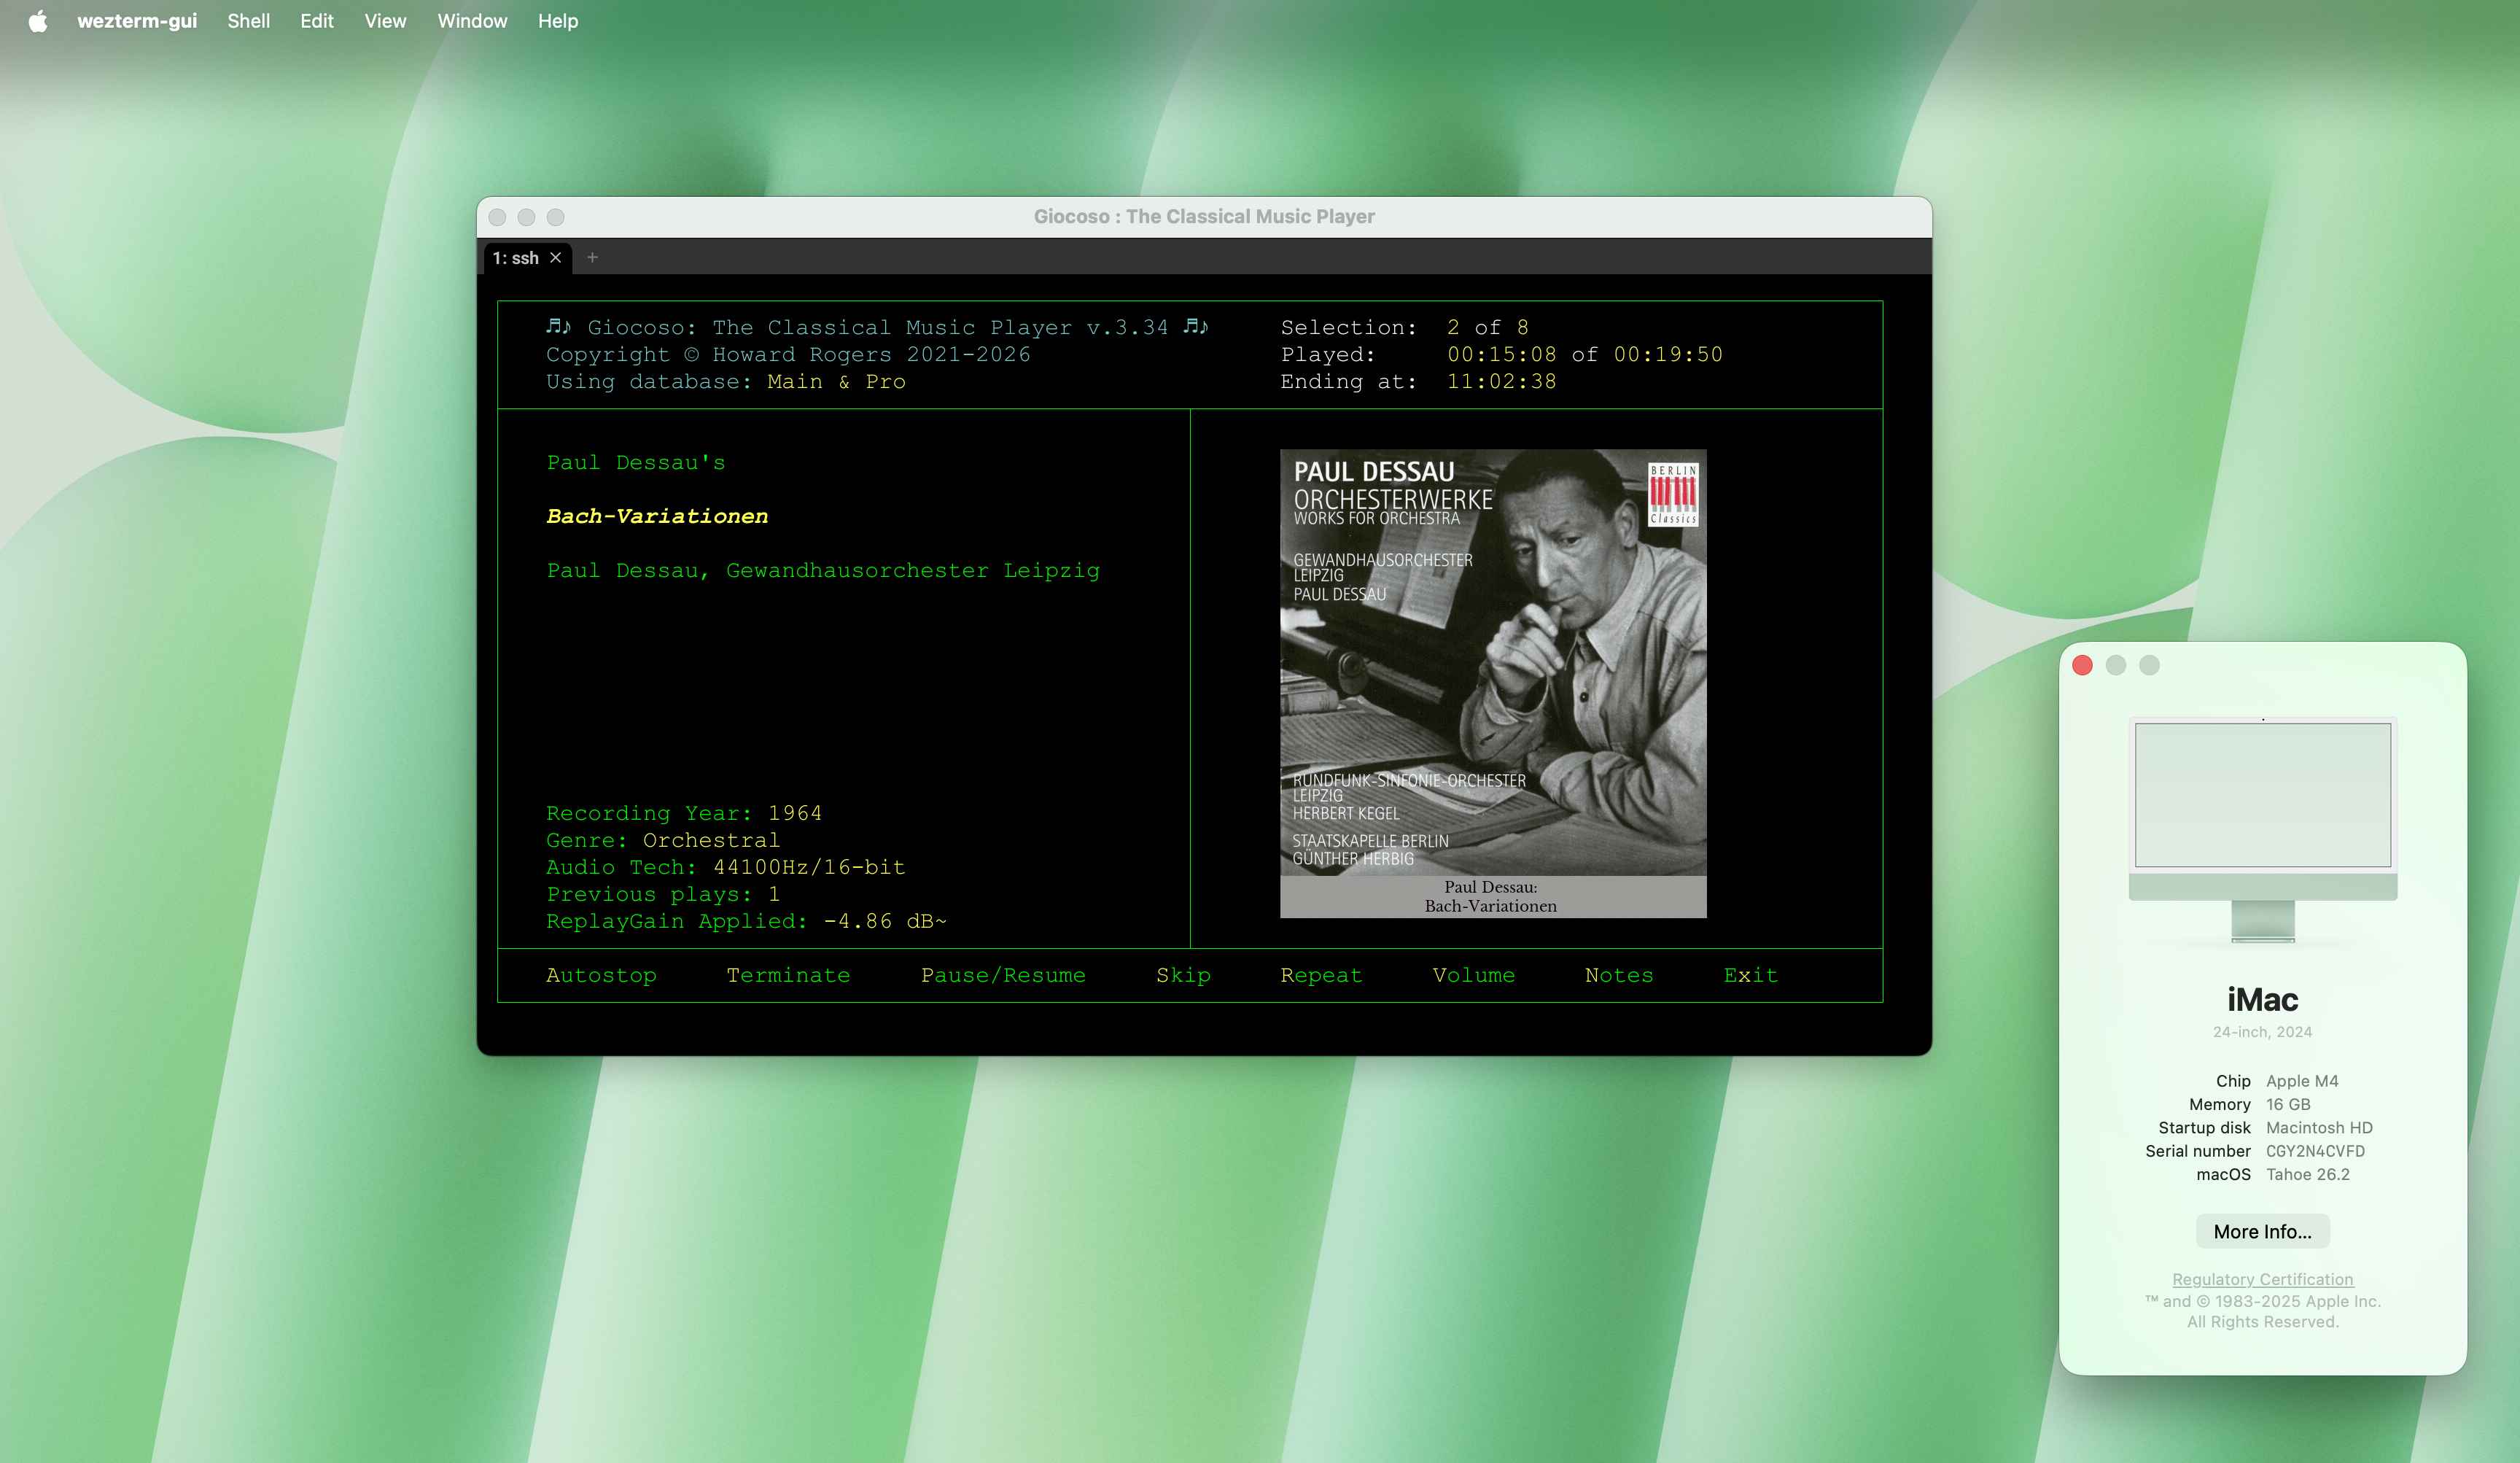
That's a rather pleasing display, I think.
Be aware that Giocoso supplies a font it thinks you might want to use instead of the 'Courier New' one I've mentioned in the above configuration file: Luxi Mono. It can be found in the /Users/hjr/.local/share/giocoso3/art folder (the “hjr” bit is my username: substitute in your own, obviously!), as a file called luximr.ttf. Double-click that to launch the Apple Font Book utility which lets you install it:
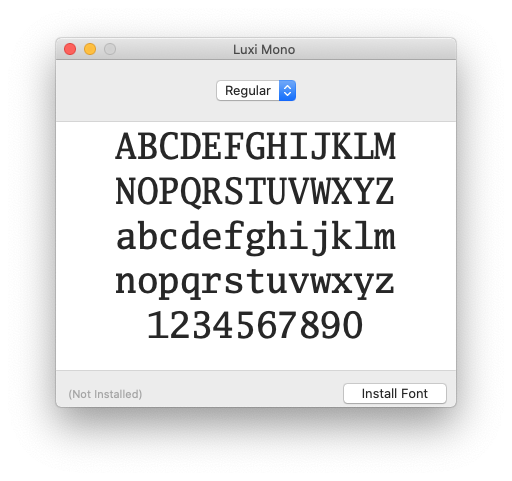
Once the font has been installed, re-edit the .wezterm.lua file and replace the name “Courier New” with “Luxi Mono”, leaving all other text unchanged, and save the file. You should see the existing terminal update itself to display the new font:
The new font is slightly serif (the characters have little hooks at their tips and so on) and not quite as spidery as Courier New… but the choice of font is, ultimately, up to you.
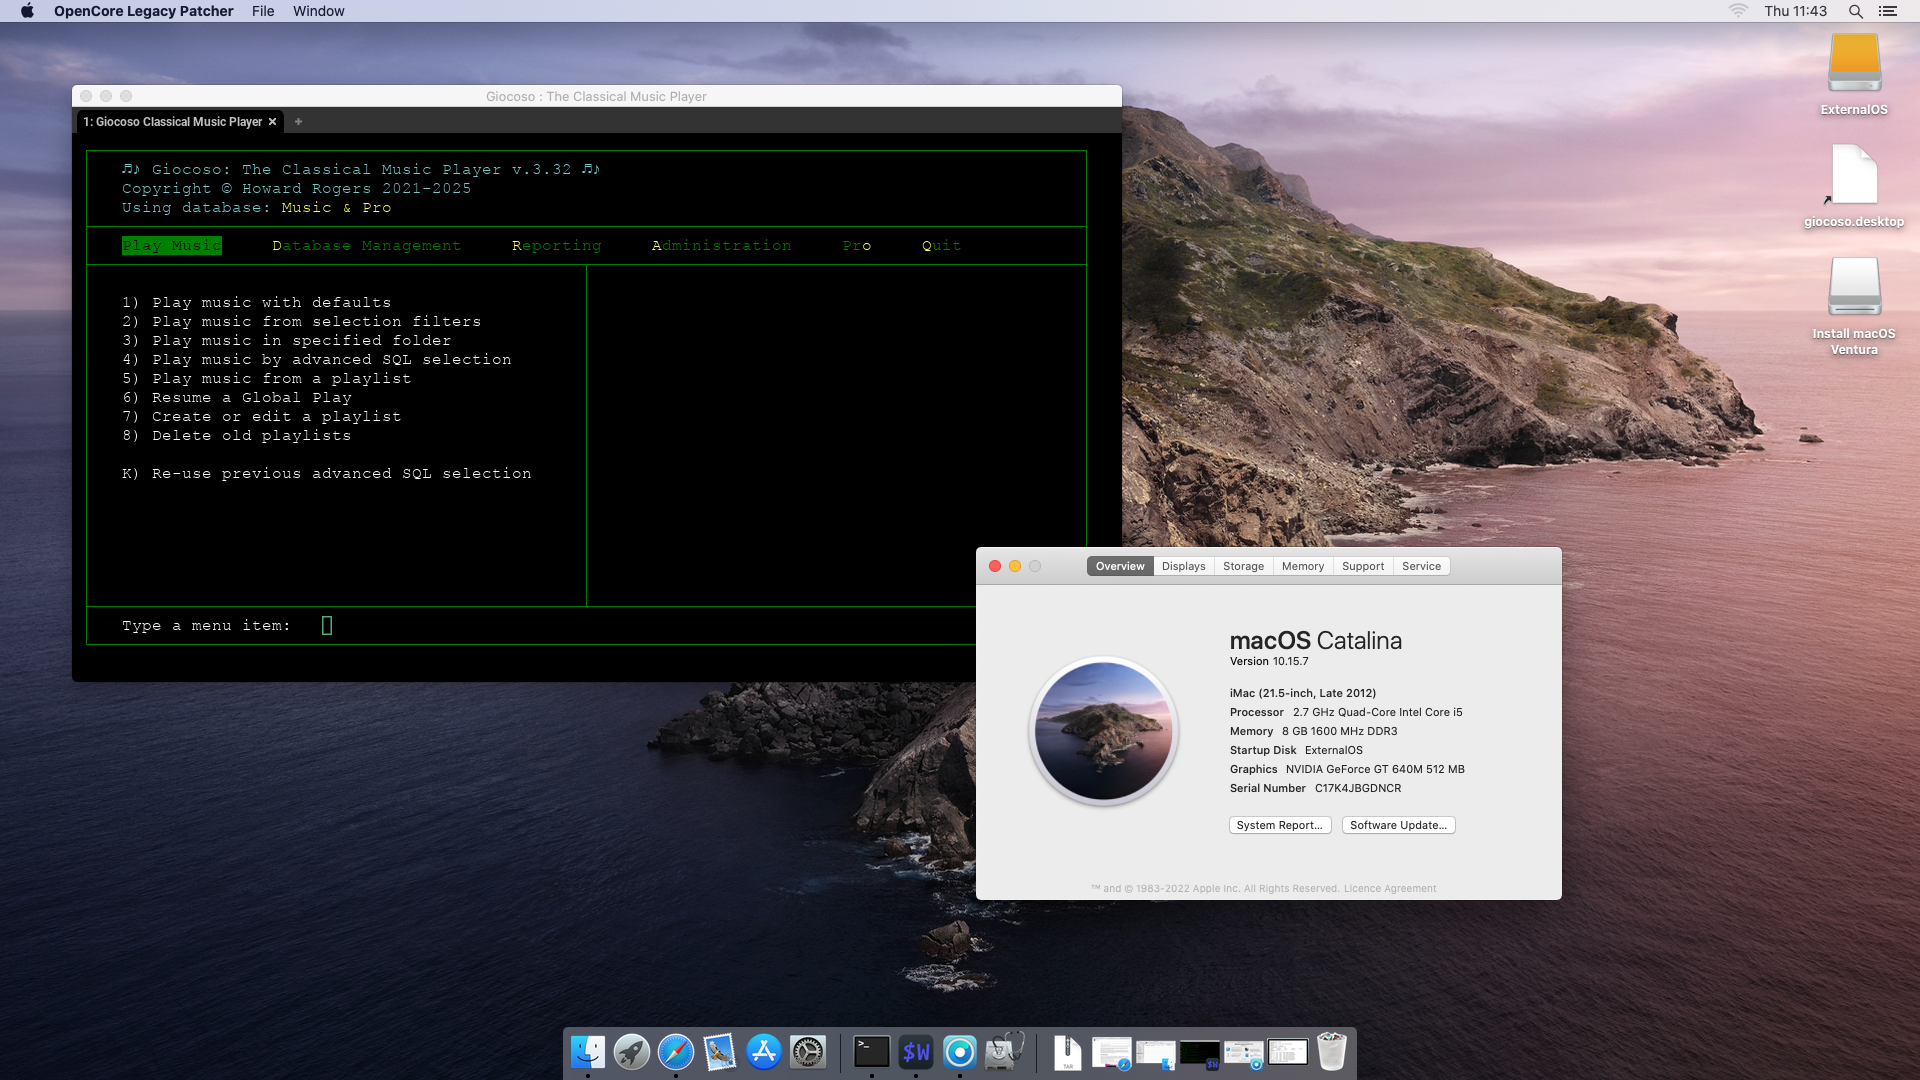
If you now take the Database Management menu, Option 1 you'll be able to create a database of what music files exist on your system. After that, you'll be able to take the Play Music menu, Option 1 and have some of it start playing to you:
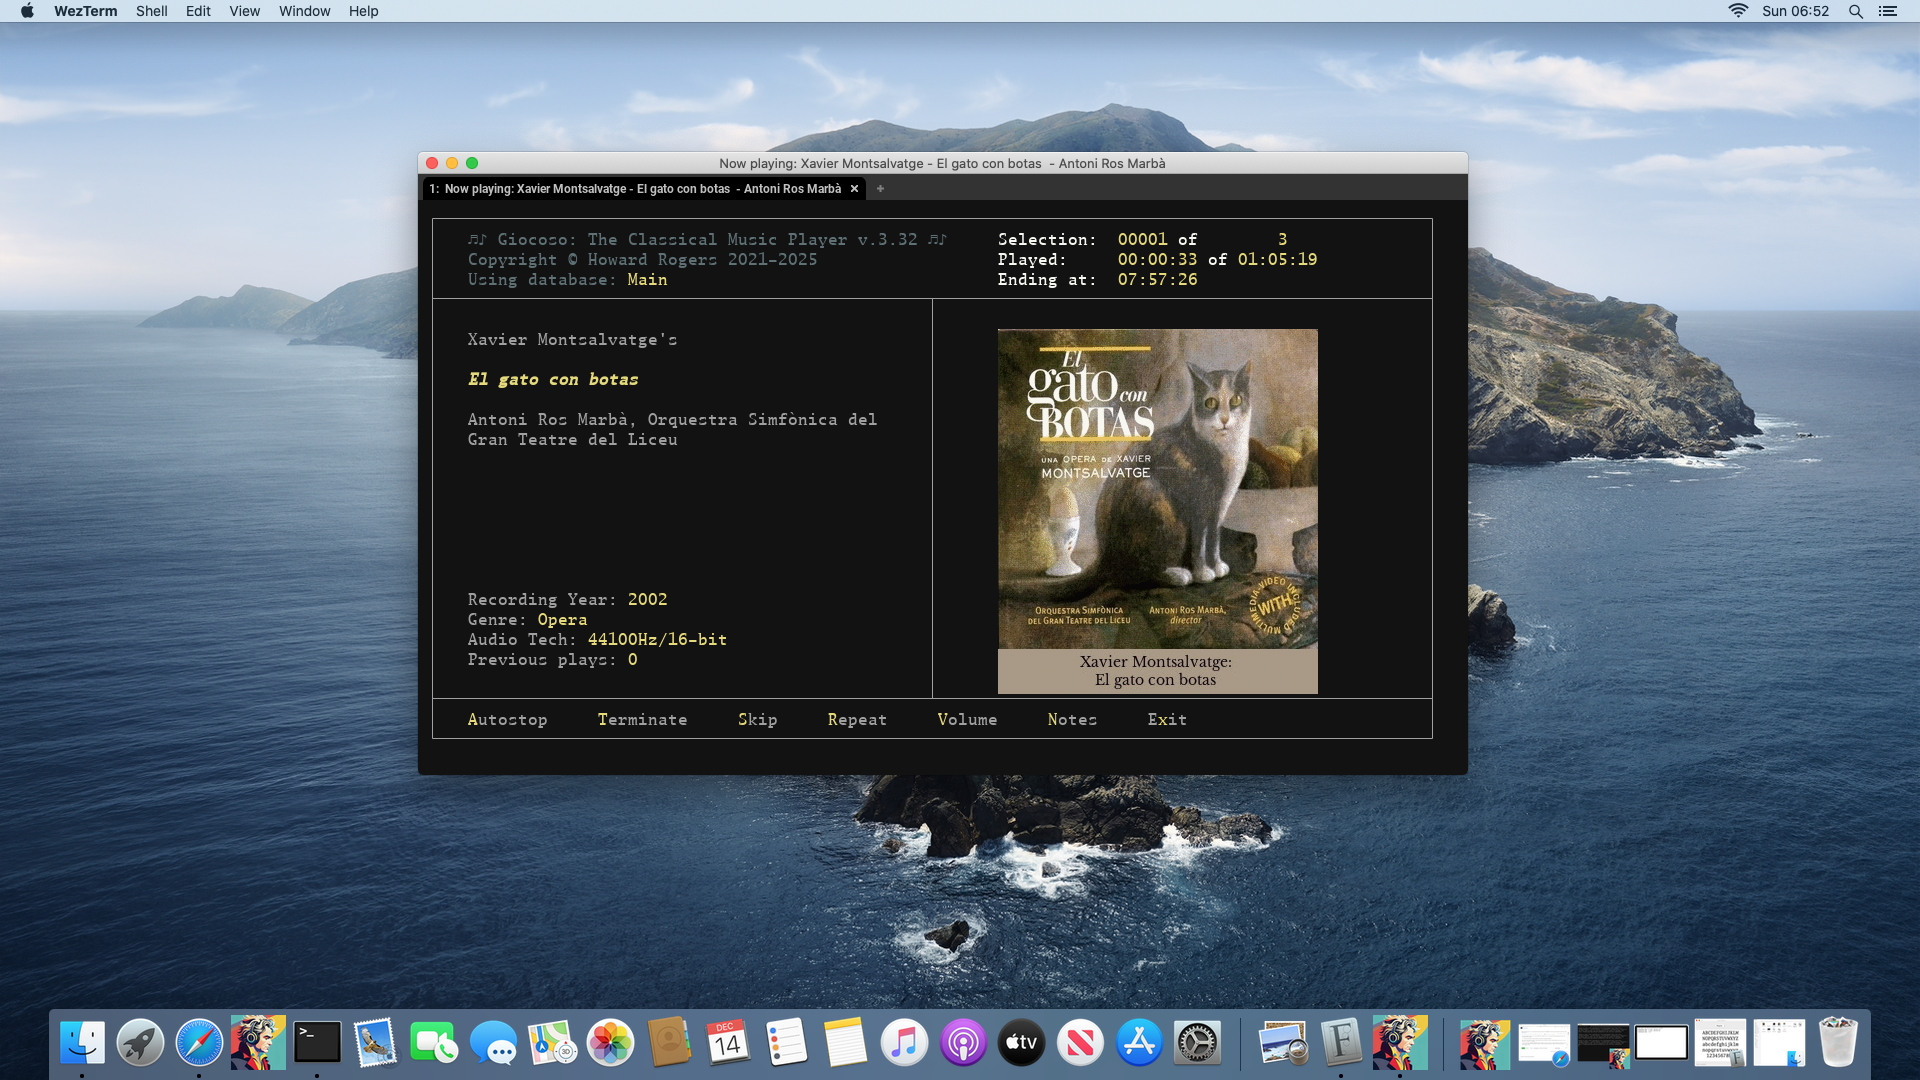
…music with in-terminal display of album art!
6.0 Final Graphical Tweaks
The last thing you might want to consider is creating a proper program launcher for Giocoso that looks like it belongs to Giocoso and not Wezterm! Here, for example, is my dock:

You'll note that the second icon in from the left is, indeed, something that looks like it might want to launch Giocoso. How do you achieve that?
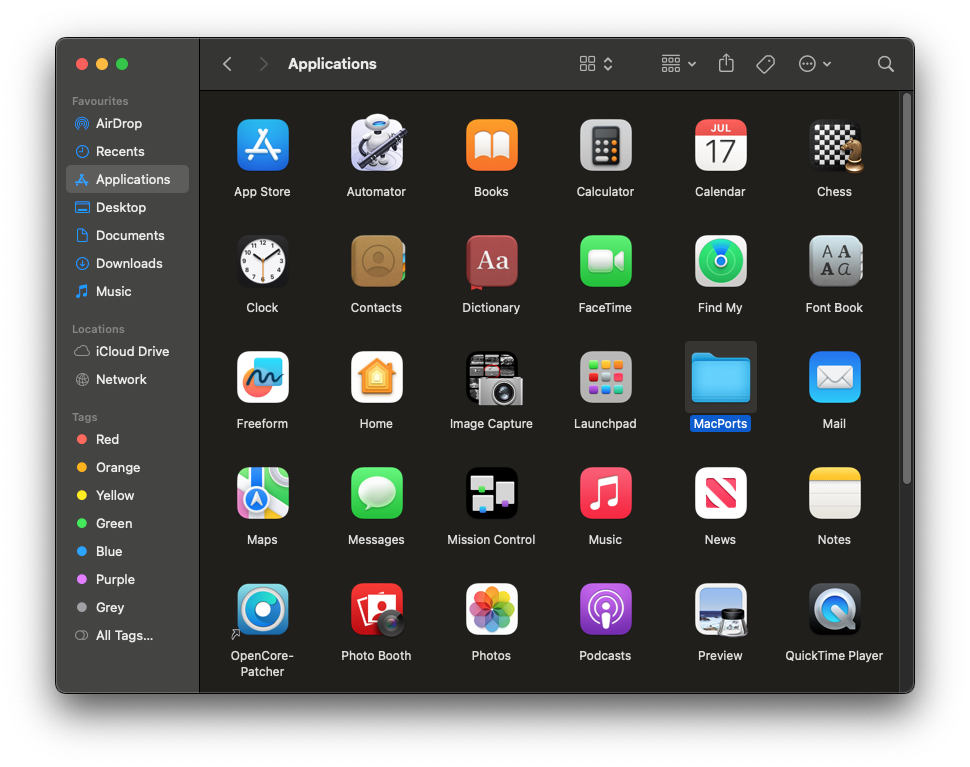
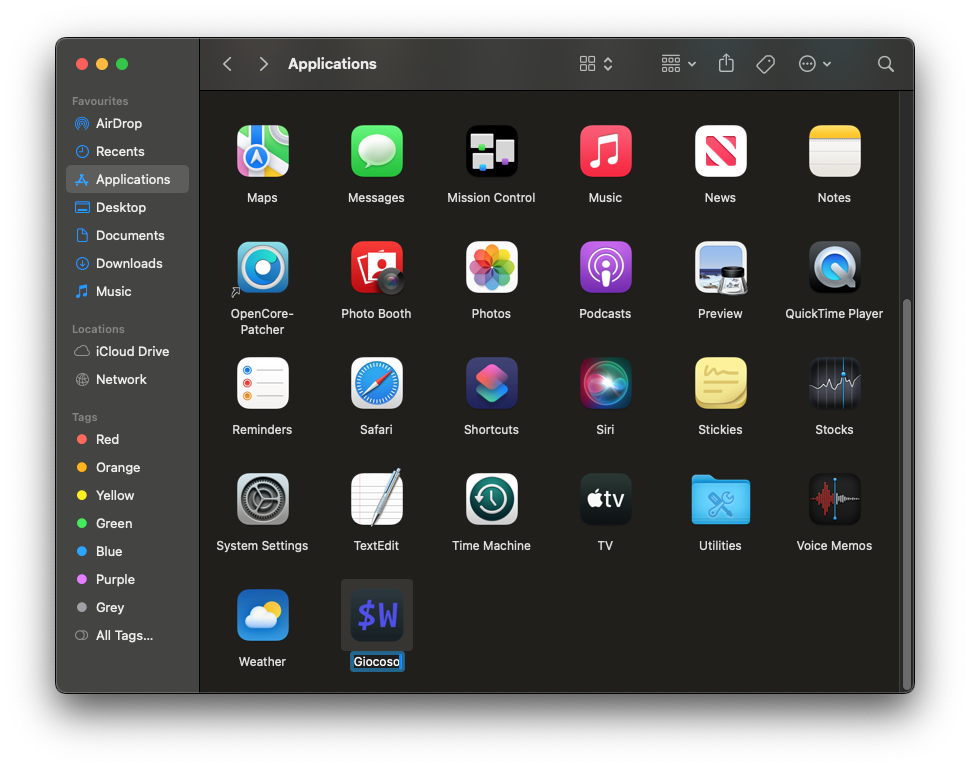
Well, first open Finder and visit the Application section: there you'll find a MacPorts folder (assuming you've used MacPorts to install everything, of course):
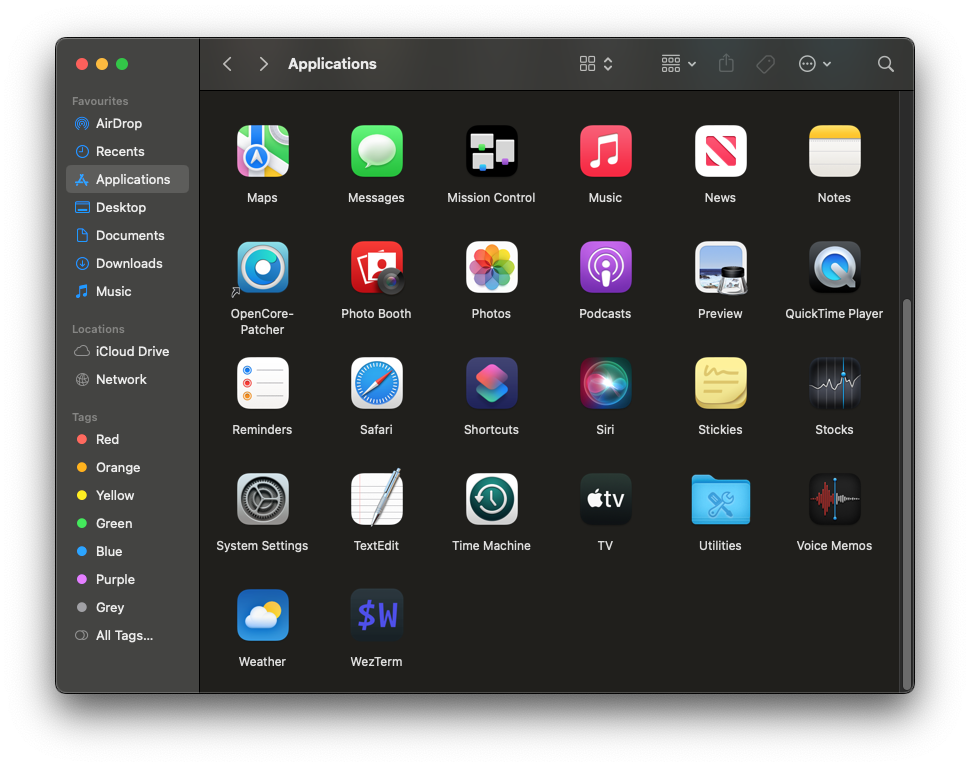
Inside that folder, you'll find the icon used to launch WezTerm:

Right-click that icon and select 'Copy' from the context menu; then click back to the Applications section and right-click and select 'Paste': you'll now have a WezTerm icon in the 'root' of the Applications folder:
Right-click this new icon and select 'Rename' from the context menu and then change the text label for the icon to 'Giocoso':
Now comes the slightly tricky bit to describe! Right-click the new 'Giocoso' icon and select 'Get Info' from the context menu. That will open up an information panel about the executable associated with the icon. Keep that open whilst, back in Finder, you select 'Go → Go to Folder…' from the top menu: for the path to go to, type /Users/hjr/.local/share/giocoso3/art (replacing 'hjr' with your own username, of course):
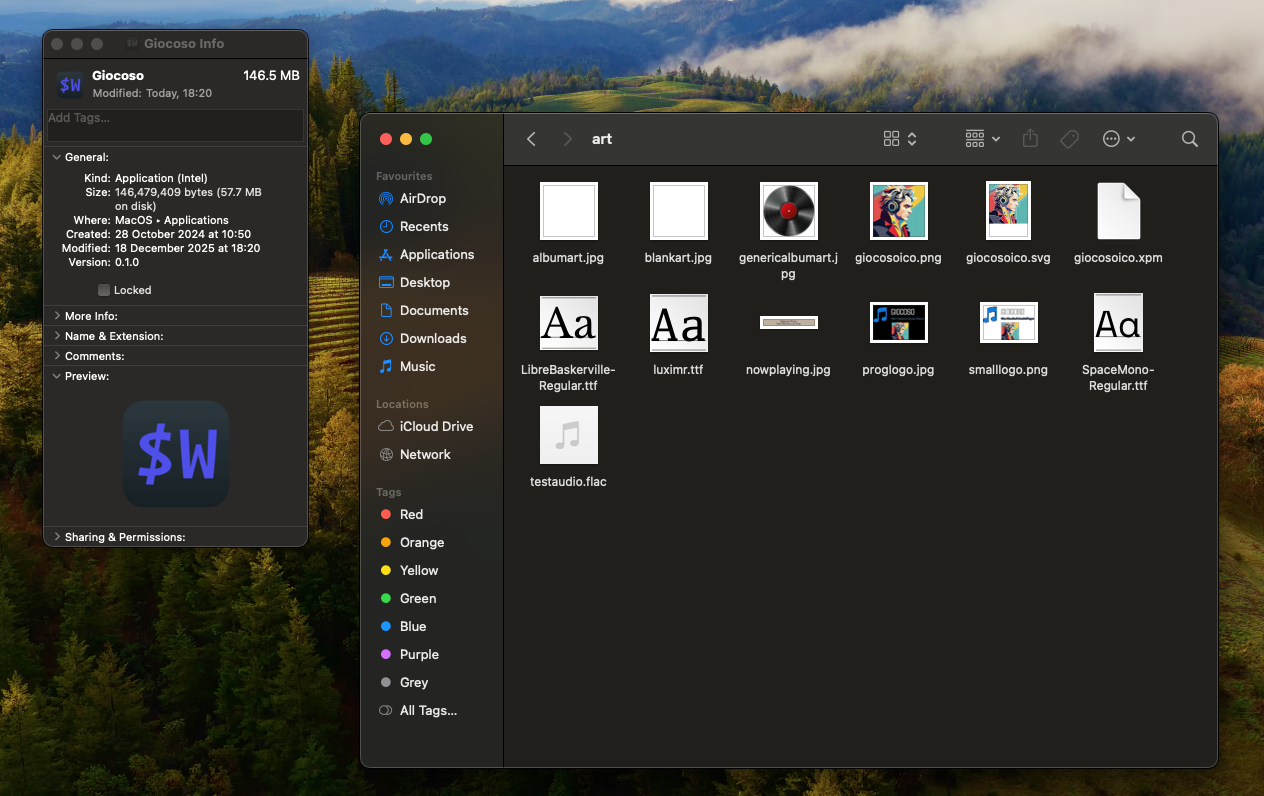
Your job now is to click-and-drag the giocosoico.png from the art folder in Finder on top of the tiny '$W' icon in the top left-hand corner of the Giocoso Info panel. Drop the png on top of the existing icon and you should see both the little and big icon at the bottom of the Info panel change:
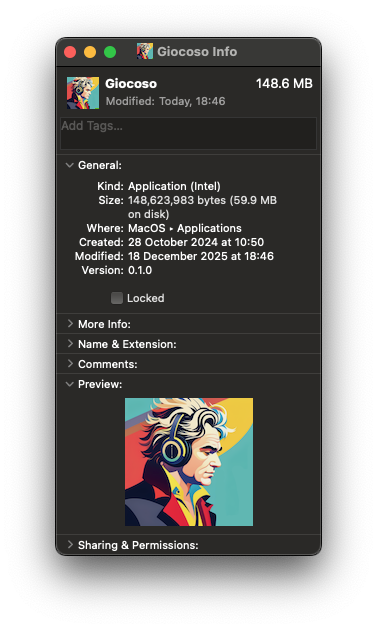
Now you can close the Info panel down. In the Finder window, you can now double-click the new Giocoso icon to launch WezTerm. That will put the running application-with-Giocoso-icon into your dock: right-click it to say 'Keep in Dock' and then drag it to where you want to see it in future. Bingo: you now have a proper-looking application launcher that will allow you to run Giocoso easily within a terminal emulator that knows how to display album art properly.
A couple of additional notes of caution and advice. First: earlier versions of macOS (think: Catalina, especially) do not allow you to drag .png files onto the Info panel as I've described here. On those versions, you first have to convert the .png supplied by Giocoso to a .icns format and then drop that version of the artwork onto the Info panel's little icon placeholder. I use this free on-line converter to do that. Point the site to the .local/share/giocoso3/art/giocosoico.png file, click convert, then download the converted file. Drag that to the Info panel and you can delete the download afterwards.
Second: if you used Homebrew to install Giocoso, you won't find WezTerm inside a MacPorts folder: it will be directly in the Applications section of Finder. The same technique applies, however: copy it, paste it, rename it, re-icon it.
7.0 Giocoso Pro Complications
Giocoso Pro is an extension to the basic Giocoso functionality of playing local music files: it allows a Giocoso instance to consult a remote database of what music files exist to determine what to play. This remote database is a MariaDB or MySQL database and thus your local Giocoso installation needs MariaDB or MySQL client software to talk to it.
Such a client has, in fact, been installed for you automatically, as part of the standard Giocoso installation. The trouble is that macOS probably won't know how to find it! Worse, what it should be hunting for changes depending on whether you use MacPorts or Homebrew as your installation package manager. For me, using MacPorts, the correct executable ended up being found in /opt/local/lib/mariadb/bin and was called mysql, even though Giocoso only ever installs the MariaDB client.
Sidenote: On my brand new M4 iMac, I did the Homebrew install and MariaDB was located correctly, first time of asking: just type mariadb in a terminal session and if it returns a message about 'ERROR 2002 Can't connect to local server', you're in business and need read no further in this section.
The key point to make is that Giocoso expects to find either a “mariadb” or a “mysql” executable in /opt/local/bin. Chances are that this is not where Homebrew or MacPorts put it, however! Therefore, we need to do some slight of hand to make it so: in a terminal, type the command:
sudo ln -s "/opt/local/lib/mariadb/bin/mysql" "/opt/local/bin/mariadb"
sudo ln -s "/opt/local/lib/mariadb/bin/mysql" "/opt/local/bin/mysql"
That creates a link between a placeholder called “mariadb” in the correct location to the actual executable in the weird and deeply-nested place that MacPorts put it. A functionally-identical link is also established between a placeholder called “mysql” in the right place to the actual executable. That means whether Giocoso issues “mysql” commands or “mariadb” ones, it will always find that actual executable.
With those links in place, you should be able to type the plain command:
mariadb
..or:
mysql
…and, in either case, get the same response:
ERROR 2002 (HY000): Can't connect to local MySQL server through socket '/opt/local/var/run/mariadb/mysqld.sock' (2)
Don't worry about the apparent error: that's just a consequence of not trying to connect to a specific database for now. The point is, if MariaDB or MySQL is producing error messages, the program has been found and is running: if you can find the program, so can Giocoso… and that means Pro functionality becomes possible.
Be warned: I could not install MariaDB on Catalina via Homebrew. I was able to brew install mysql-client, but that then leaves a MySQL client trying to talk to my MariaDB Giocoso Pro server: not a combination I support or approve of! For such an old version of macOS, I suppose it was foolish to imagine Homebrew being reliable (remember: Homebrew is only supported for recent OS releases; it's MacPorts that works on ancient versions), so this is not a failing that is likely to trip you up, but it's another factor to bear in mind when considering whether to go the Homebrew or MacPorts route.
8.0 Conclusion
I've personally installed Giocoso 3.32 on (a) Catalina; (b) Big Sur; (c) Monterey; (d) Sonoma, (e) Sequoia and (f) Tahoe. The older versions were using Intel chips; Tahoe uses the Apple Silicon M4 chip, so Giocoso is known to work on most macOS versions released since 2019 and on both major CPU architectures.
Speaking generally, MacPorts is the way to go to get Giocoso's prerequisites/dependencies installed if you are using anything earlier than Sonoma; conversely, Homebrew is a reliable way forward if you're using Sonoma onwards. Catalina is pushing it, though ultimately gets there. Everything else is most plain sailing, using the appropriate package management technology for the OS version.
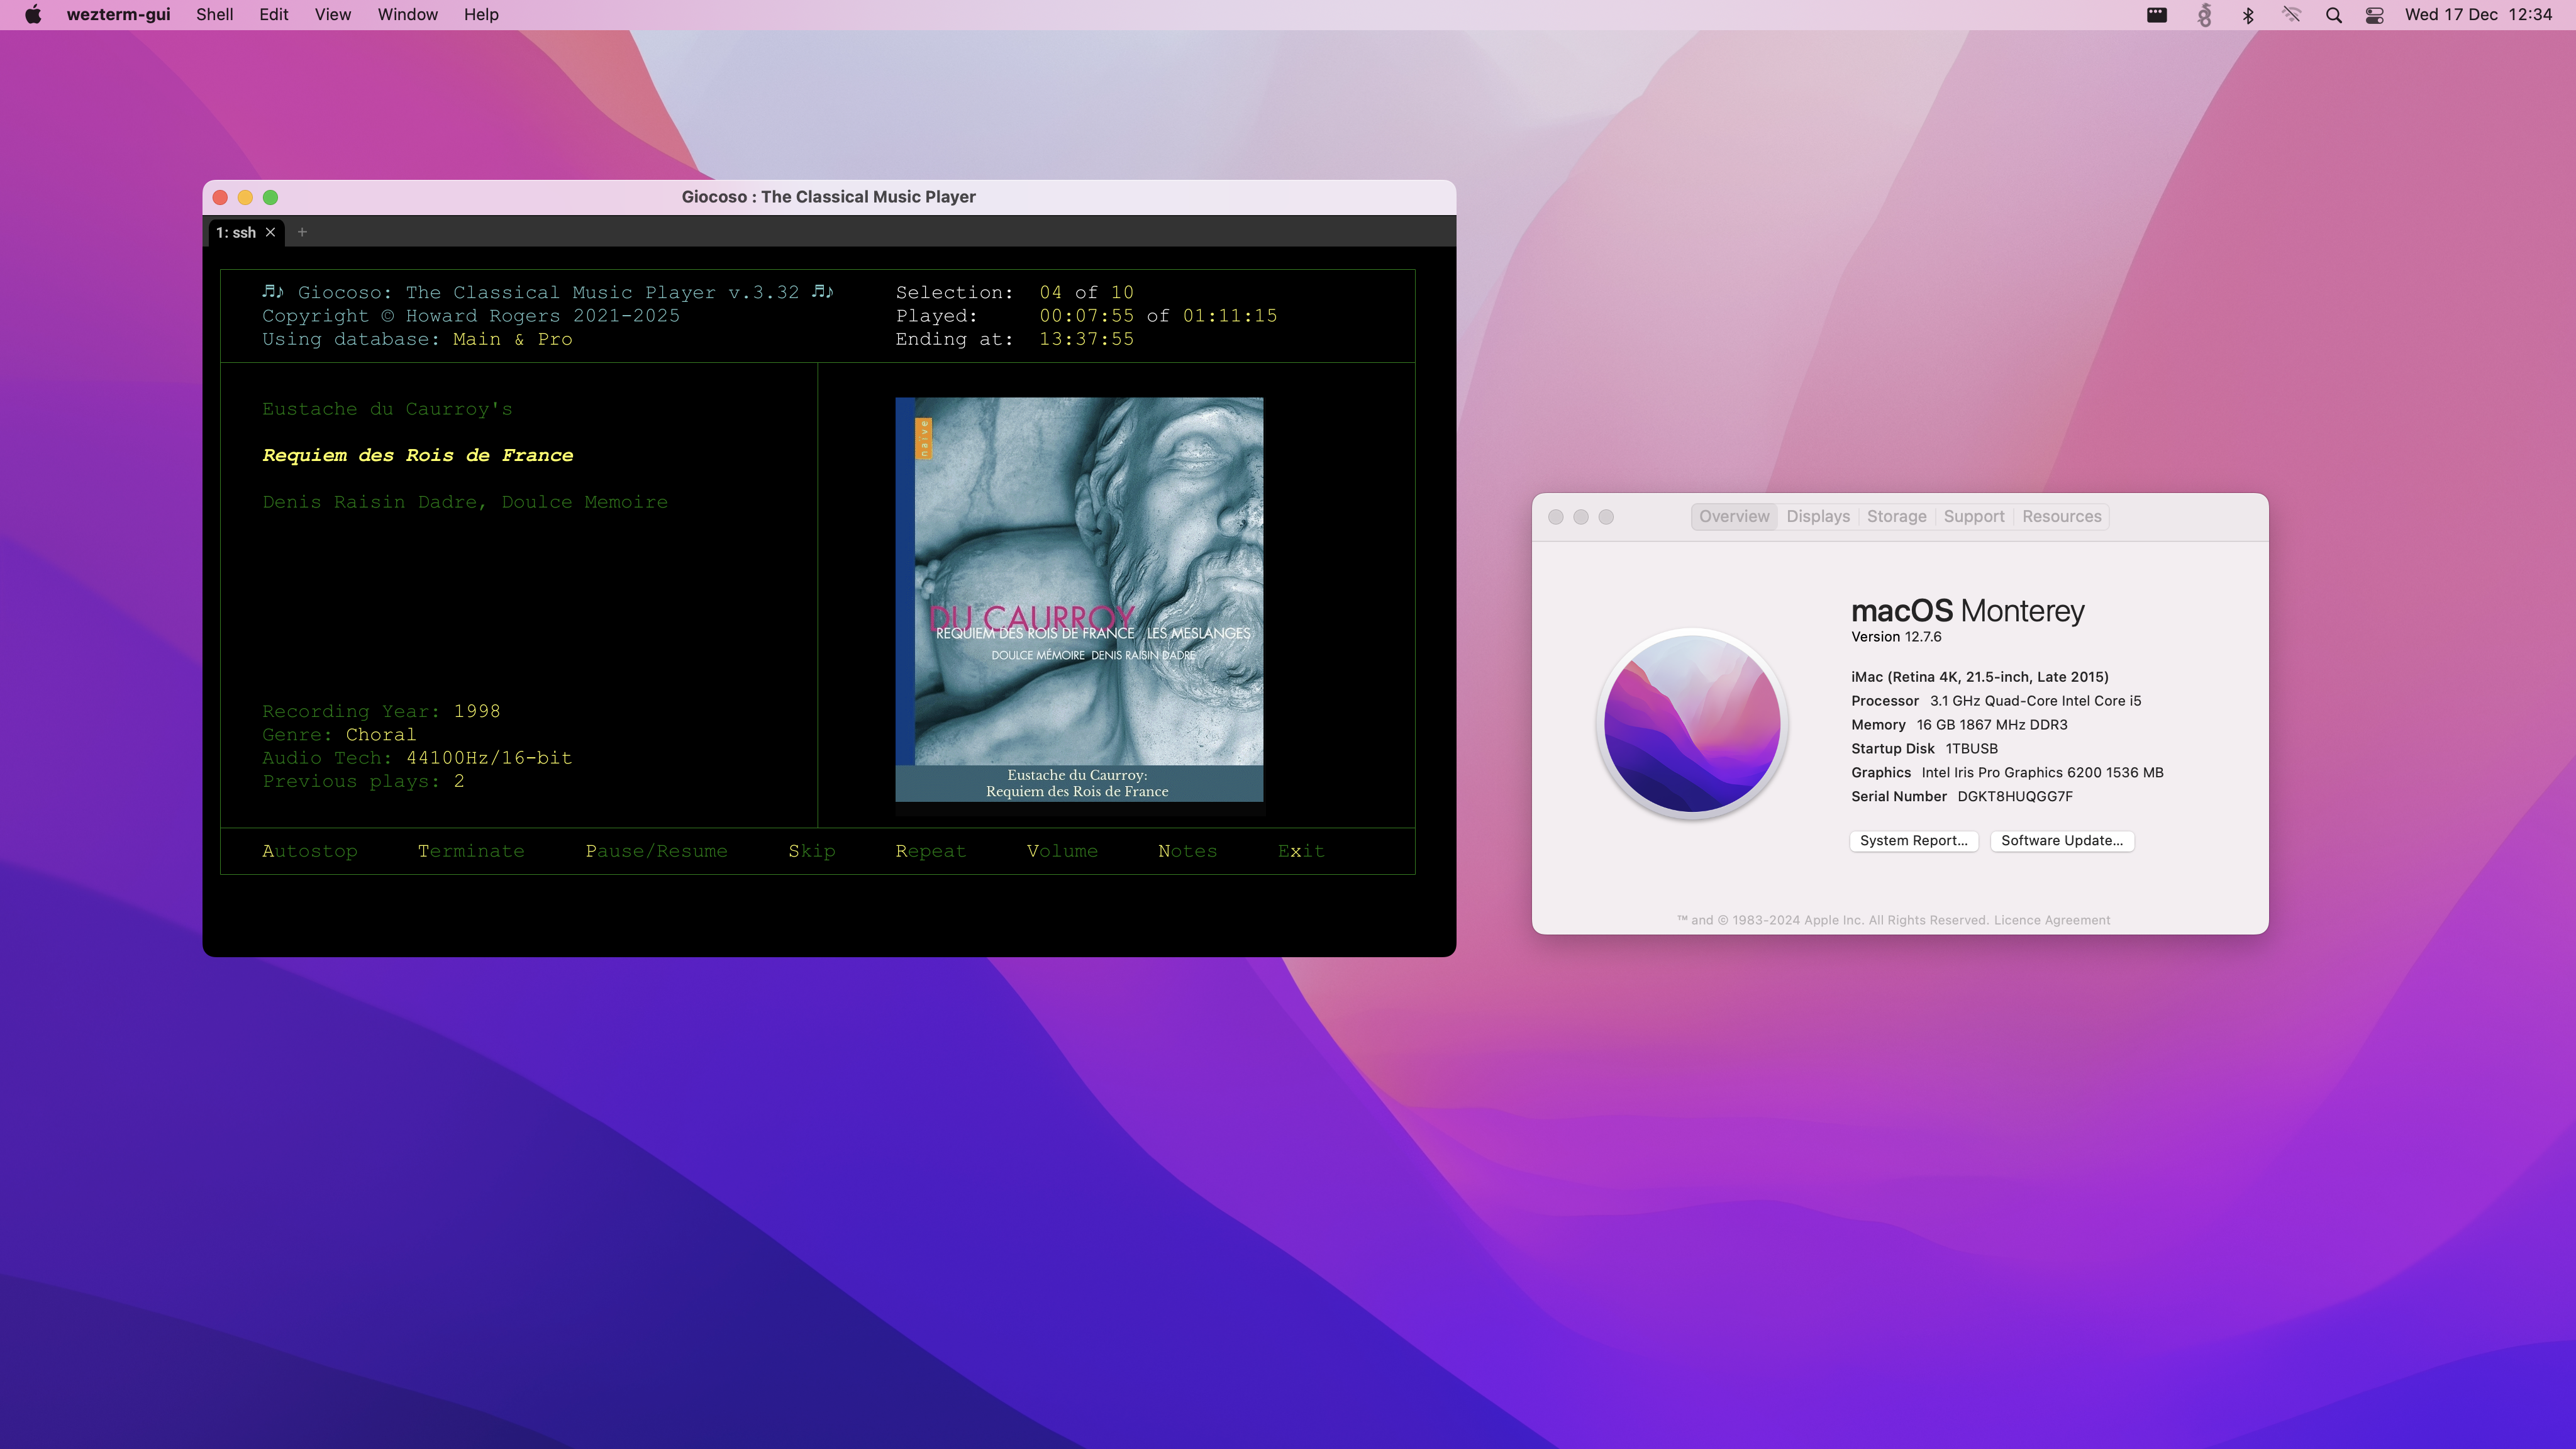
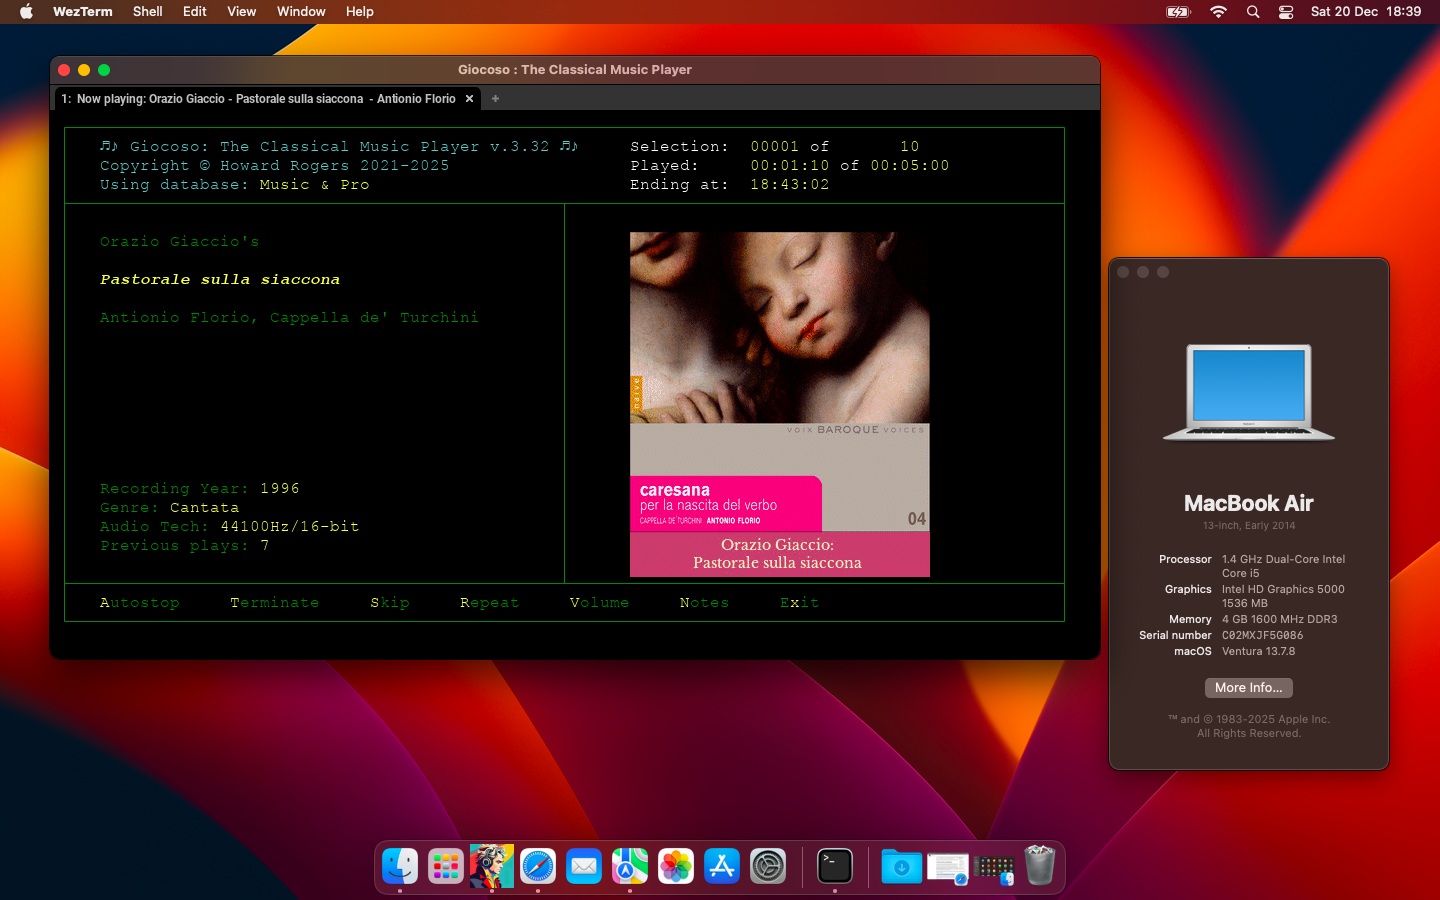
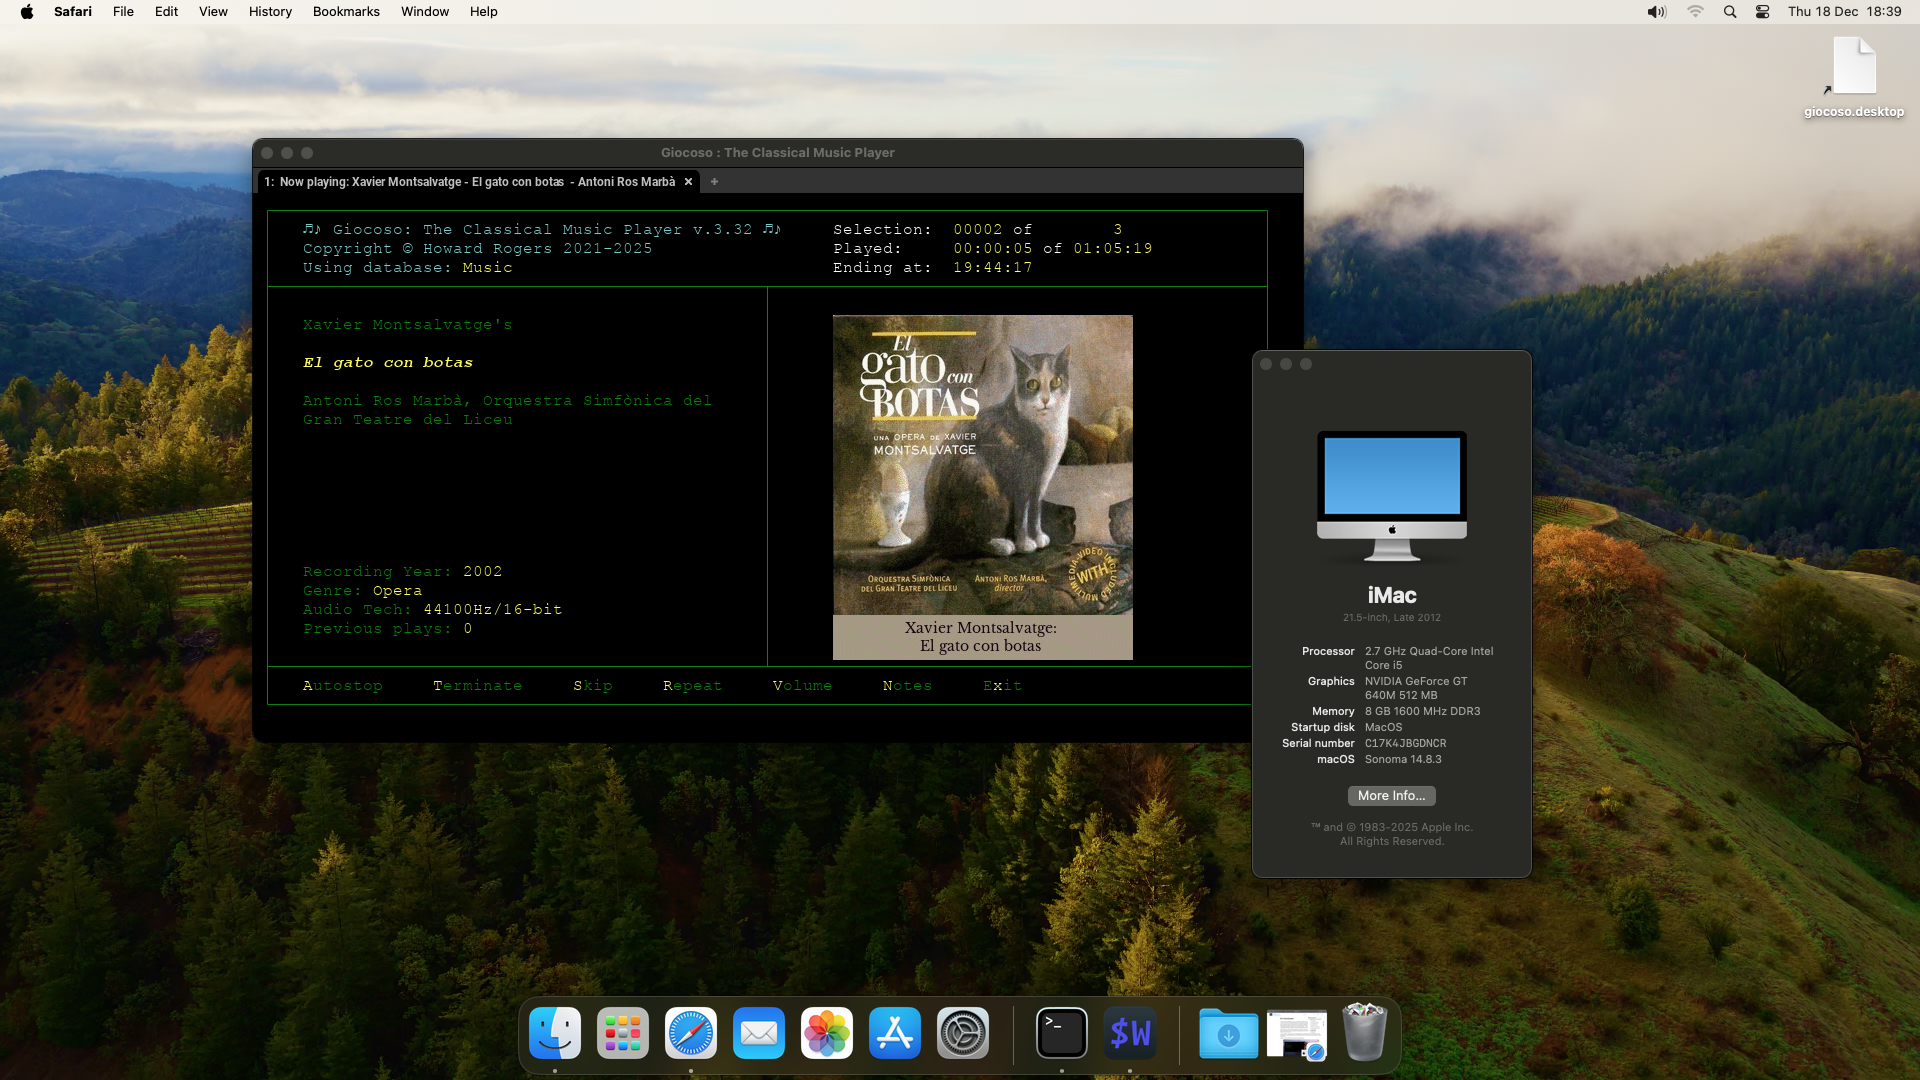
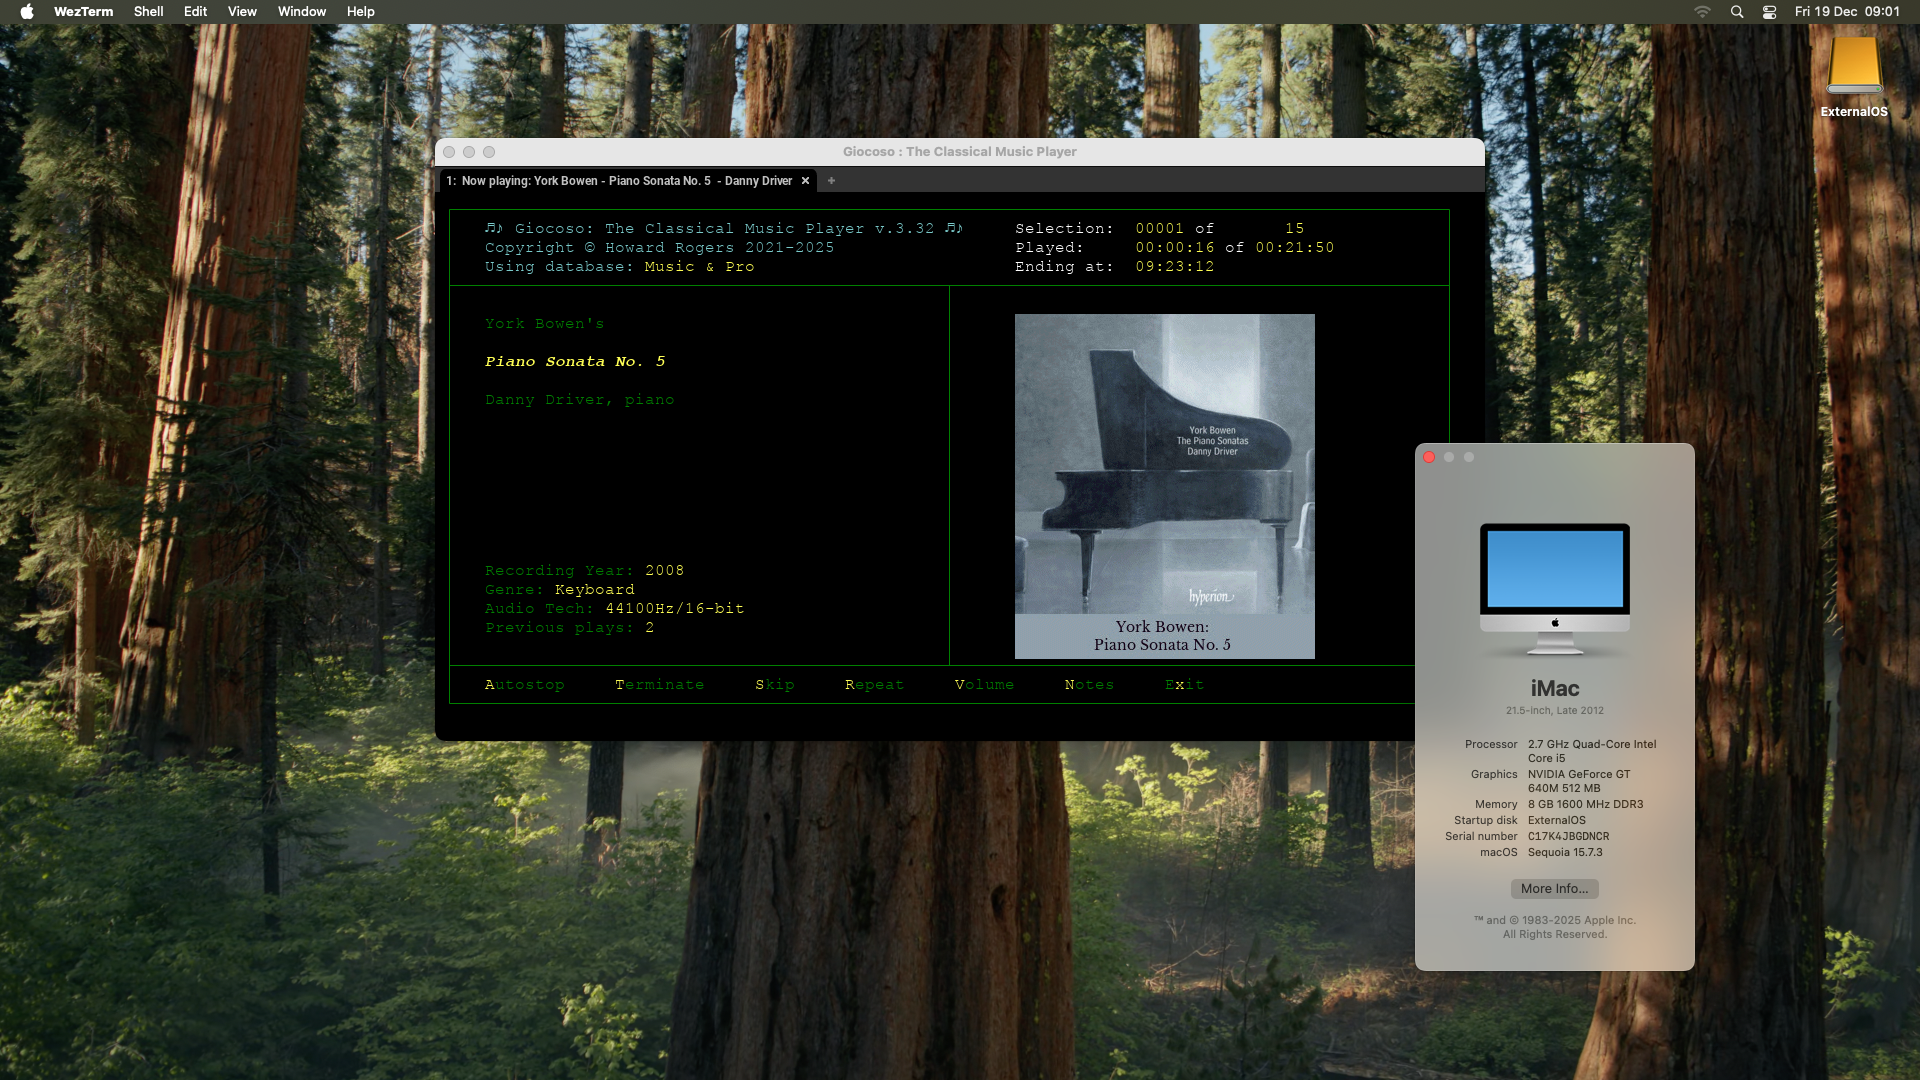
As a final flourish, I give you parting screenshots of my assorted real-world Giocoso-on-Mac installations:
- Catalina, 2.7GHz, 8GB RAM (via Homebrew and MacPorts)
- Big Sur, 1.4GHz, 4GB RAM (via MacPorts)

- Monterey, 3.1GHz, 16GB RAM (via MacPorts)
- Ventura, 1.4GHz, 4GB RAM (via Homebrew and Macports, using Legacy Core Patcher)
- Sonoma, 2.7GHz, 8GB RAM (via MacPorts, using Legacy Core Patcher)
- Sequoia, 2.7GHz, 8GB RAM (via Homebrew, using Legacy Core Patcher)
- Tahoe, ~4.4GHz, 16GB RAM (via Homebrew, M4 iMac)
| Back to Software Home | Back to Giocoso Documentation Home |